Monday, March 31, 2014

Playing Catch Up: Weekend Update #13


This Weekend We:
-painted the accent wall in the dining room, officially wrapping up the current painting goals
-pulled up the carpet in the porch to see what it was hiding. Answer? Surprisingly non-water damaged plywood
-started attaching the new trim/weatherproofing stuff to the bottom of the garage door
-reorganized all the supplies for projects and for the wedding into Bedroom #2, freeing up Bedroom #3 as a guest bedroom
-tested our water in preparation for buying a new water softener 

Pictures-
The first of many layers to be peeled off our porch

I had the primer tinted blue so that the dark blue would only take 2 coats of paint instead of 3:

And here's the real color:


Here's the two dining room colors, Deep Ocean & Moonshine:

So here's the new view looking into the living room:

I am IN LOVE with this color! Deep Ocean by Benjamin Moore. I love love love how it looks with the dark stained trim!

Here's the view from other direction from the same opening:


The moonshine paint is a little stark right now, but I wanted a neutral color to balance the accent wall plus there will eventually be open shelving displaying colorful dishes and potentially the new cabinets will be painted a color. So in the big picture the moonshine color will make sense.

Also there will eventually be built-in shelving/cabinetry on the accent wall so it won't always be seen in its full glory which makes me happy and sad.

Playing Catch Up: Weekend Update #12


I'm still playing catch up so this was a few weeks ago. The snow is now gone at the house!

This Weekend We:
-sanded the dining room walls so they no longer have the ability to make anyone bleed
-sanded the kitchen walls so they no longer look disgusting AND can no longer hurt people, it honestly looks like we painted them
-washed the dining room walls
-primed & painted two color coats on 3 of the dining room walls (accent wall #4 is a project for next weekend)
-got the flat wheel off the tractor and got it fixed at Farm & Fleet
-got the dining room light working!!!!! (it is so much easier to paint with overhead lighting)
-realized we need to look into radio controlled light switches because reaching the bedroom & craft room light switches from the attic has proven ridiculously difficult (tools were lost, curses were cursed)
-had our first overnight guest!

And now for pictures-

Sanding in action:
Every white spot was a protruding hurty bump
3 Dining Room Walls Down!:
Good-bye disgusting salmon color!


 Uncovering more of our house's past underneath the last old fire alarm:

Odds & Ends


Odds & Ends #1: Merry Christmas! This present ties with my DSLR as the most generous Christmas present of the season. The upcoming porch remodel is going to put this saw through its paces.

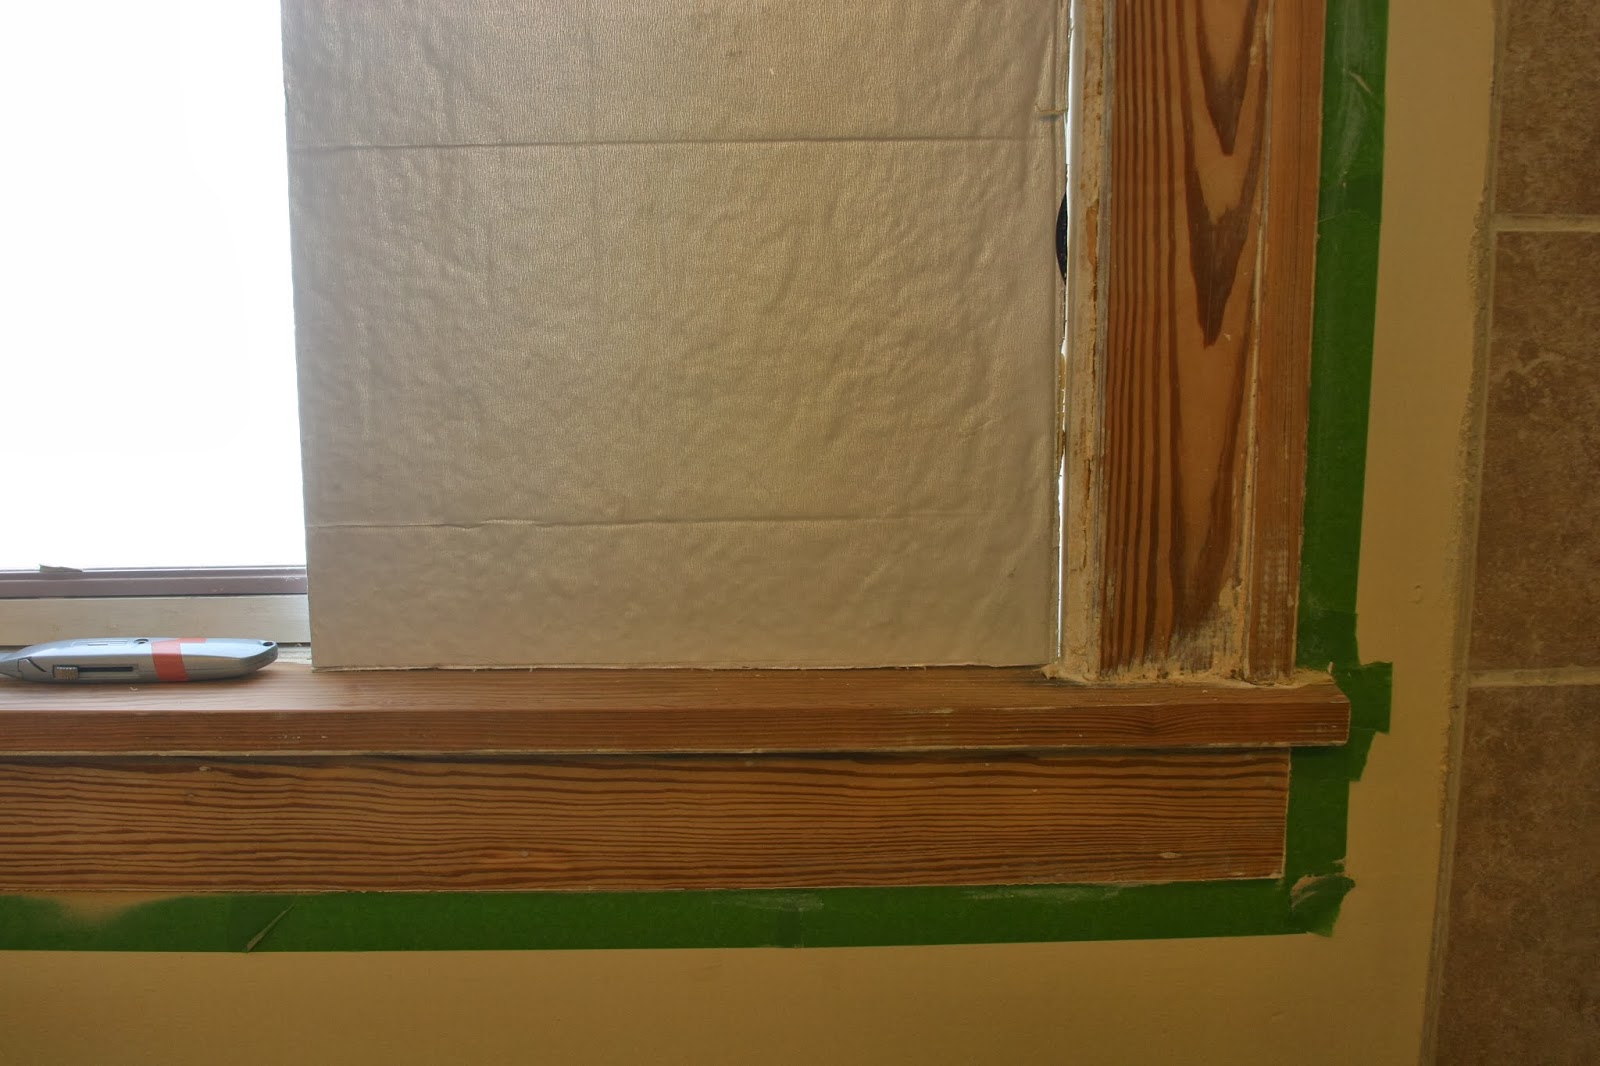
Odds & Ends #2: After 4 coats of paint stripper & a good sanding, the bathroom window is almost ready for stain! I need to do another round of paint stripping on the painty trouble areas and it'll be ready.


Odds & Ends #3: The part of the bathroom wall you see above will soon have two towel bars, but it's short so we needed to cut them down to fit.

Odds & Ends #4: The shower towel hook & hand towel ring are up. The towel bars are from the same line so they'll match. 

Odds & Ends #5: Finally here is a picture of the new stove!  Also a generous present! It has been well used already :)
I have tried and tried to get this to post NOT side ways and failed over & over. It has delayed this post for weeks!


Playing Catch Up: Weekday Update #11


This was only a one day quick visit to show the house to my L.A. brother on the day after Christmas (clearly I have lots of catching up to do!!). But we still got a little done.

This Weekendday We:
  • gave a house tour to my L.A. brother! 
  • brought new Christmas presents over to the house - tools galore!
  • brought couch pillows for the futon & sleeping pillows for when it's a bed
  • put on the handles for the linen closet drawers & waxed them so they'll slide easier
  • washed all the new glasses for the house (no more wine of out giant tumblers) & brought a pizza cutter
  • plowed a foot of snow off the driveway with the tractor
  • started gathering fun stuff (games) for the wedding!
Pics:
Can't wait to use this baby during the Porch Redo!


Thursday, March 6, 2014

My Dream Closet: the IKEA Pax Wardrobe

Putting together IKEA furniture is tedious and hurts my fingers. But, this was the best way to get exactly what I wanted for my dream closet.  This is their PAX wardrobe system. You buy the big rectangles and then decide how to fill them in with the KOMPLEMENT storage system. There's shelves, drawers, baskets, shoe racks, etc.  Here's what I got:

-1 wide frame with
  • 4 wide wooden drawers
  • 3 wide shelves
  • 1 wide clothes rail
  • 2 wide zip-up clothes storage bins

-1 skinny frame with
  • 2 shelves
  • 6 wire baskets
 
-1 wide frame with
  • 1 wide dresser unit
  • 1 wide clothes rail
  • 1 add-on clothes rail
  • 1 wide shelf


Here's a picture of 1 wide frame and my skinny frame:
Sorry this is a cell phone pic taken at night

This one is from a real camera but is a little too zoomed in:


 And here's the other wide frame:


Right now 1 wide frame & the skinny frame are in what will be our bedroom for now. The second wide frame is in Bedroom #2. The long term plan is that these will be in our master suite either in a walk in closet, or along the wall and then we'll add doors.

Now because I'm an organization freak and love this kind of thing, here's pictures showing where everything will go once we live there:


Here's some pictures of the lovely stages of putting together IKEA furniture:


Monday, March 3, 2014

Dreaming & Scheming: The Porch

Here's another installment of Dreaming & Scheming! You can see installment 1 here, 2 here, & 3 here.  Redoing the porch is the only "big" project I have planned before we move in. All the other stuff we've done are smaller weekend projects: pulling weeds, planting, painting, fixing electrical stuff here & there, etc.

Porch Inspiration: 


As you can see I want to turn the porch into a Craftsman Style porch.  I like the columns with stone on the bottom, the tapered wood on the top, and the railing in between.

Our porch is much smaller so we'll have fewer columns, but the idea is the same.


So all the white siding and windows will be gone, but the stone foundation & roof are staying.  I do like the idea of a screened-in porch, but I don't want it to look a traditional screened in porch. So after we put up the columns and railings the plan is to put some screening up behind it all and a new screen door.  I also want to spray paint the railings because I'm not a fan of the brown.

The plan is to do this at the end of March & beginning of April because that is my Spring Break so I have many days off in a row to work and work. My oldest brother gave us a few days of work as my Christmas present so we'll have a bigger, more experienced work crew for those days.

You might have noticed that the above inspiration houses have dark blue siding. One day when we are done redoing the inside of the house I want to redo the siding in navy and redo the roof with silver colored metal roofing. 

This house is still being built, but eventually it'll have a Craftsman style porch as well. I LOVE this shade of navy with white trim:


And here's what I mean by silver colored metal roofing:


Want to know more about why I want our current porch basically knocked down? Here, look:
The swing of this door is wrong so it is very hard to get into the  porch
Why yes, this porch IS carpeted!

Uck. It's gross. Even with a deep cleaning, it's still a carpeted mess. Here's to hoping there's cement under that carpet! That's a discovery for next weekend.

Sunday, March 2, 2014

And More Painting


 There is a snowmobile path right across the street and it is WELL USED. The path ends in town and lots of people use it just to get into town to do things it seems. We have seen as many as 10 snowmobiles parked at the end of the trail in town. The path even has little traffic signs!
 So, we also painted the Craft Room and Living Room during the Great Blog Break of 2014. Since the rooms are so open to each other we decided to paint them the same color.

 Here's a Before:


A During:
Primer!
Coat #1 in Craft Room
The full size ladder was necessary to reach the ceiling for cutting-in. You may notice there is no painters tape up. I have found that to get painters tape to truly do its job you have to put it on slowly and carefully to make sure you are making a straight line with the tape. So I'd rather do the cutting in slowly and carefully (with a short handled 2" angled brush) and not have to bother with the tape. I cut-in and Corey did most of the rolling.

And the After!:
Through the bedroom door you can get a glimpse of the new lamps and nightstand
The color is Colorado Gray by Benjamin Moore. It's not any of the colors I had originally been considering from this post . I didn't end up liking any of my original choices and this is where I ended up. It's mostly blue with some green & gray undertones. The green/grayness of it shows up more in the Craft Room maybe because of the paneling or the lighting. I'm not sure. 

Speaking of the paneling, I really like the look of painted paneling. I think it brings a nice texture to the room. But man, is it frustrating to paint! The grooves made cutting in so much more difficult as shown in this picture:

I would run my brush along the edge, and then have to go back and paint each groove vertically because not all of it would get painted and then the edge of the groove would have a glop of paint caught in it. It was time consuming to say the least.

The grooves even caused an issue with the roller. This is what Corey had to do for rolling:


I had been thinking I'd paint all the trim white, but I really like the color next to the rich wood trim. But the wood trim isn't in the best shape when you look closer, so now I'm not sure what to do. Sanding it all down and re-staining sounds kind of awful. But there's a lot of paint on the trim from people who weren't so careful in the past. There are scratches & dings, there is discoloration, and the windowsills are water damaged and VERY scratched up. We both really love the look of the wood though, so whatever we do we won't be painting it. That sound you just heard was my Dad sighing with relief.