Wednesday, April 30, 2014

More Porch Progress!


There has been a good amount of porch progress, and I wasn't involved in any of it!  These are pictures that Corey took.  

A couple of weeks ago my mom and dad went out to the house in the middle of the week and constructed the caps that go on top of the column base before the tapered column starts. They are very fancily engineered by my Dad so that rain will run off of them (thanks, Dad!).  Here they are being painted:


Then last weekend my Dad, brother, and Corey went out for the weekend and installed the caps: 


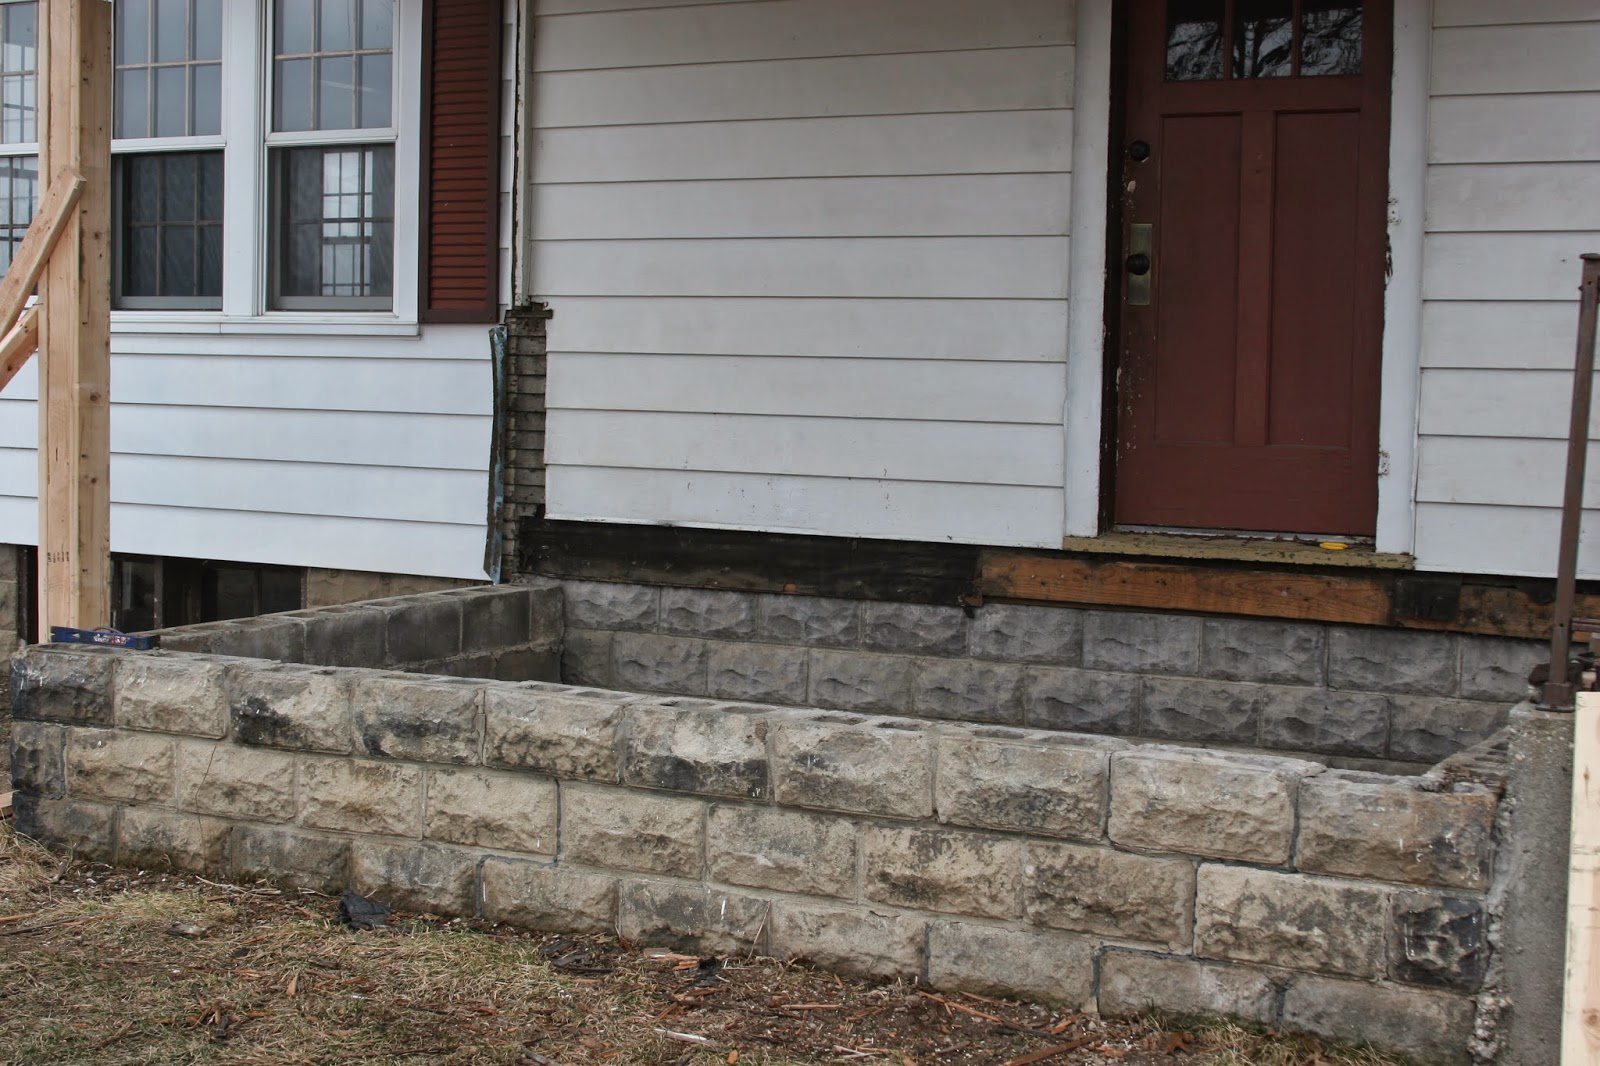
They also installed a new ceiling piece that covers up some old gross wood and increases the width of the ceiling so the wider tapered column top doesn't look out of place.  The old wood and the new wood will all be painted with white exterior paint at some point soon (after this picture was taken they were primed).  Those ceiling beams, roof, and stone foundation are all that's left of the original porch.

And they cut off all the extra floor boards that were sticking off the edge:


And most exciting of all, they cut the pieces for the tapered columns!  It took them forever to get the jig set up for the table saw so that the pieces would come out with the right tapered angle, and then it was super fast to cut all the pieces. I've come to realize that that's how it works with wood-working. 


So the pieces were cut and 3 of them were glued and screwed together.  The 4th piece will go on as they get installed around the support post.  Here is a preview picture where they were just holding things up to see how it will look:


They still need a coat of white exterior paint, they're just primed at this point.  But I CANNOT WAIT TO INSTALL THEM!  It is so much fun to see my vision coming true!

Here's what we still have left to do on the porch:
-install the tapered columns
-paint the woodwork with the final white exterior paint
-install the railing (pieces are painted & ready in the basement)
-put up the "stone" on the column bases
-get the exterior light to work
-put up the new beadboard ceiling (already stained & waiting in the basement)
-put up the pretty wood to cover the treated lumber supports
-futz around with the thresholds
-strip & stain the front door

Bonus picture:
The weekend that I was out at the house recently it was just us and we didn't get a ton done, but we did make Life Size Jenga for the wedding. What's Life Size Jenga?  Here, look:
It's 40" tall!

Tuesday, April 8, 2014

5 Day Weekend Update #15 New Porch!


We left off last weekend looking like this:

So this Wednesday we put up the temporary supports and then began taking down the rest of the porch. Here's the temporary supports:

And down came the porch:


Now to take up the old floor and look at the old floor joists:

Bad News Bears: It's all rotted :(
 At some point someone sistered new joints onto the old ones (look back and see how there's lighter better looking wood alongside the rotted wood) and we ended up reusing some of that wood because it was fine.

It took about 5 minutes to take it all out because it was disintegrated:


New supports going in:

We cantilevered the porch out so that the big columns I envisioned wouldn't hang over the edge:

New supports are bolted into the house:

 Many tools are involved in the making of new supports:

 New joists are all in!:

 My mom and I stained the new flooring in the basement:

It's a semi-transparent stain. I meant to pick a shade with more gray in it, but blue always calls to me:

First new support post is up!:

 Now all 3 are up!:

 Blocking is put in to further support everything and prevent Shaky Floor Syndrome. Here is where we used some of the old but newer old joists:

This shows the pitch of the joists so that water runs off of the floor. Plus it shows the cantilevered overhang because of the large columns:

Flooring is going in!:

We rented the flooring nailer and it came with this silly looking bopper that you need to use with it:

Used a tool that my Dad gave me when I was....10? to cut around the supports:

 All the old flooring that will probably be used as siding for a future chicken coop:

 The columns are wrapped in Tyvek to prevent moisture from leaving them and going into the fancy wood "wrappings" that are going in later. Here is stage 1 of boxing out the columns to look pretty:


 Here's Stage 2:

Stage 3 all wrapped in tar paper:

 Here are things that will be addressed in future weekends-

Stage 4 of the columns: putting on the stone

Stage 5 of the columns: putting in the tapered wood craftsman style tops of the columns

New pretty wood needs to go on the side of the joists to cover up the ugly treated lumber and then the extra flooring needs to be cut off:

 We need to cover up the remnants from the old half wall and put in the railing:

We need to put in a new threshold:

I need to spray paint the silver threshold in my Oil Rubbed Bronze finish spray paint, paint the door surrounds with the exterior white paint, and strip & stain the door:


I need to thank my dad, my mom, my brother, and my brother's girlfriend for giving up so much of their time to help me with this project. THANK YOU!

Tuesday, April 1, 2014

Weekend Update #14 PORCH DESTRUCTION!

These guys hung on all winter!
I apologize in advance for all the exclamation points in this post, but this project is very exciting for me!

I am finally caught up! This all actually happened this past weekend, as in yesterday and the day before.

This Weekend We:
-peeled layer upon layer off of our porch! There.were.many.nails.
-got a glimpse of the original porch from 1921!
-went to Home Depot and bought a bunch of porch supplies using a very generous Christmas gift card from my work (I've been saving it for this project)!
-got a free nice new cabinet to hold up the mini fridge (our attempt to be European)

This past weekend was stage 1 of a multi-stage porch renovation event.  The primary objective was to destroy the porch so that this Wednesday (mini spring break! 5 days in a row at the house!) we can begin rebuilding it.  

We couldn't fully do what I had been imagining because my Dad didn't want to leave the porch with temporary supports for two days with no one being there. FINE LET'S BE SAFE I GUESS.  So there is a good chunk of porch still standing to be taken down in pieces Wednesday and Thursday as we put in temporary supports to hold up the roof.  

The biggest reason I wanted to take down the porch was that was so god damn ugly and terrible. But as we dug into all the layers of the porch (you'll see what I mean by layers later on in the pictures) it became apparent that it is a miracle that the porch (AND OUR ROOF!) was still standing. So all in all, I'm a smart person with smart ideas.

On to the interesting part! PICTURES!-

Let's start with a BEFORE, because the beginning is a good place to start:

The plan is to remove everything but the roof and foundation.

Just taking the windows and screens out already makes it feel so much more open:

The door is gone! They hung it the opposite way they should have so that when the door swung open it was almost impossible to get in the door.

Aluminum siding is gone! Revealing another layer: the original wood siding-

We pulled off the later of original siding to uncover the backside of one of the layers inside the porch:

Ladybugs. Ladybugs EVERYWHERE:

And with a triumphant roar my mom knocked down the doorway!:

And here it is with the two tiny walls gone:


More of the window framing is gone. Some of it was redwood! We plan to reuse it somehow:

Evidence as to why this porch was crumbling away and should have fallen over already. This post should be taking a majority of the roof load and yet it is crumbling and detaching from the porch:

Crumbling wood that was hidden under aluminum cladding:


Originally these two pieces of wood met and were nailed together. The front of the porch has been slowly detaching from the rest of it:

Layer #1 on the inside of the porch was paneling. Layer #2 was plywood:

Layer #3 was the original wood siding that matched the outer wood siding:

OH THE LAYERS OF THIS PORCH.

Layer #1 of the floor of the porch was carpet. Yes this porch was outside and yes I did just say carpet.  I never got a picture of it, but it was brown and gross.

Layer #2 was plywood that was nailed down just about every inch. And each nail was hidden by carpet glue and very, very difficult to get out. My mom got out most of them:

Layer #3 of the floor of the porch is the original wood planking. We are taking this out to be able to shore up the wood supports underneath, but are replacing it with similar flooring so it will look original to the house.

There was only one layer to the ceiling surprisingly. We had to peek at what was up there to see if we needed to fix anything. There was no way to pry off the beadboard so we had to do some blind cuts to get at it. 

We climbed the ladder, peeked our heads in and found cool surprise, the original roof!:


So originally the whole porch wasn't covered, there was just this little eyebrow over the doorway and the rest of the porch was open.

I can't wait to go back on Wednesday and get back to work. My brother is coming to help us (another generous Christmas present!) and I hope we can make a lot of progress by Sunday night.

And here is our fun and functional addition to the kitchen: