
This week there are two exciting projects in the works and I am so excited to share them next week. Meanwhile I am going to show you a project I started back in January and finished in July and have been meaning to blog about since. Crafty Homestead crafts in various mediums and here is the first fabric project.
This week will be How to Make A Quilt Week. It is easier than you probably think it is. If you have a sewing machine, an iron, and can sew straightish lines you are set. It's also nice to buy a quilting foot for your sewing machine (for Part 2) and get a cutting mat and rotary cutter for the fabric prep.
I started quilting when I was 17 because my Uncle made his grandson a quilt and I thought I could make one for my nephew, too. He helped me to get started and since then I have made about 10 quilts and have dreams of millions more (check out my Pinterest board Quilty Quilterson). I got my sister-in-law into it, too, so now it's even more to have a friend who also quilts.
Let's get to the how-to. Today we are focusing on Part 1, because while making a quilt isn't hard, it is tedious and takes awhile.
Part 1 - Make the Top
Part 2- Do the Quilting
Part 3- Binding and Embroidery
Step 1. The first thing you need to do is pick a design. There are lots of books and blogs to show how to do various quilt block designs. I'd recommend starting with a pattern that is squares all the same size. Stay far away from triangles! I tried them in the beginning and was scared off (all the tips of my triangles got cut off when I sewed and I don't understand how to avoid that). The next quilt I do I will try them again now that I know that blog tutorials exist. They are too challenging for your first quilt. You can do patchwork and not think about a design per se or pick a design and then you just have to pay attention as you sew (and prepare yourself for at least one seam ripping session because you put the wrong squares or rows next to each other). The one I am showing you here is called a Double Irish Chain.
Step 2. When you have your design picked it's a good idea to draw it out on graph paper to scale (one square = 2 inches or whatever you need). This forces you to think through all the details: do you want a border, how thick should the border be, how big should your quilt be for the design to come through, etc. It comes in handy when you're at the fabric store because you know if you need a half yard or full yard etc. Fabric gets expensive so not having to overbuy out of cautiousness is nice.

Step 3. Once you have a design you need to buy the fabric. Take your time with this part. When I first started I used to rush that part and I ended up with a quilt that I didn't like because the colors didn't go together right in the end. Lay the bolts of fabric next to each other in the store and think it through so you're really happy with your choice. If you don't LOVE it laid out on the floor you need to keep working and pull new bolts. It helps to find one you love the most and find others that work with it because otherwise the possibilities seem endless. It also helps to text pictures to people and gather opinions :)
For my quilt I had tradition to help narrow down my choices. When I make a Double Irish Chain I like to pick one patterned fabric to "run" through the quilt as the "chain." I've done stars, circles, animals, and now flowers. So the flowered fabric pictured below was always what I wanted and I had to decide the two complimentary colors (I usually do a darker color and a lighter color with this design) and the backing. I loved the animal fabric pictured below, but in the end I had to go with tradition and do a plain cotton flannel backing as I have always done with my Double Irish Chains. I used the darker color from the front as the backing, but you'll see that in Part 2.
 |
| I loved the bold pink, but I didn't think it meshed well with the flowered pink |
 |
| These two pinks seemed "off" compared to the flowered pink |
 |
| I pulled in some purple since I loved the pink & purple on the animal fabric. Now we're getting somewhere! |
 |
| Here is where I ended up (minus the animal fabric) |
Step 4. When you get home you need to wash your fabric in the washing machine and dry it (I only use a teeny bit of detergent). This way your fabric shrinks before you start working with it and not after (different fabrics can shrink differently which would mess up your quilt the first time you wash it all sewn together).
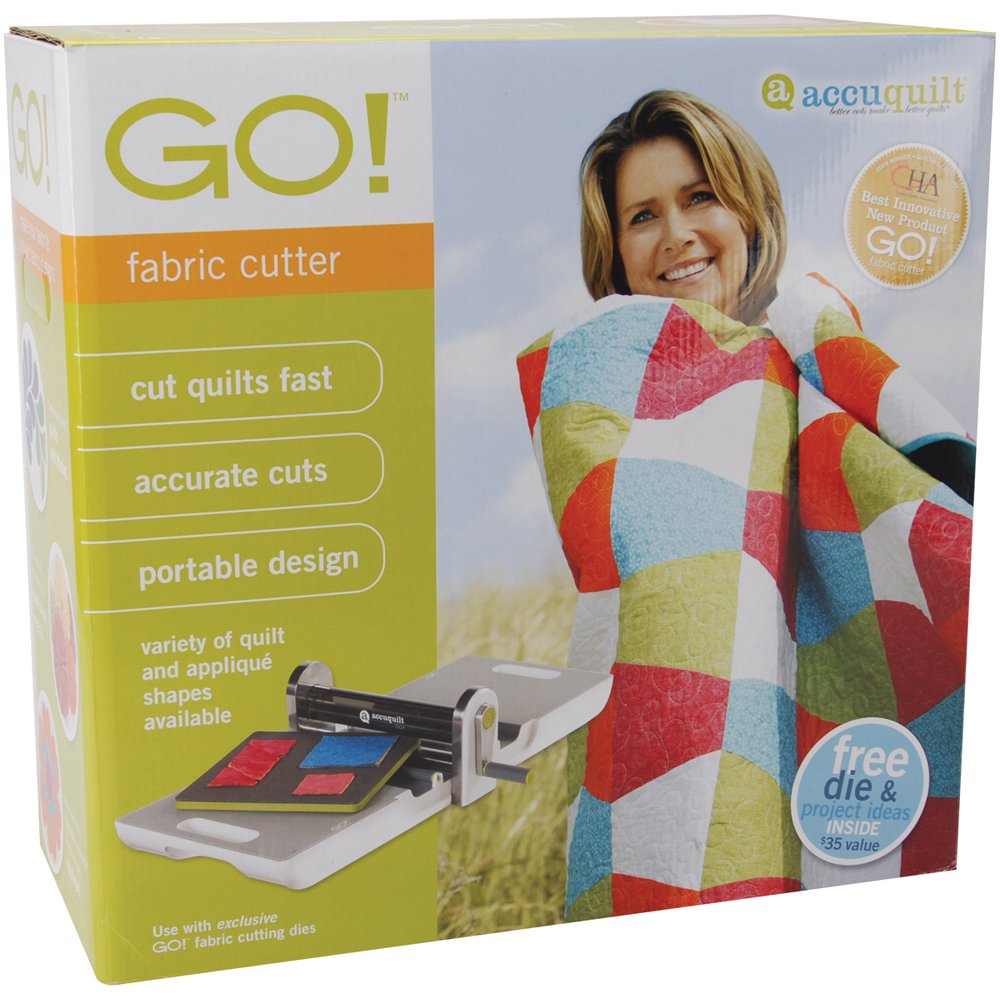
Step 5. Now you are at a stage where you feel like you're actually quilting and not prepping! It's the cutting stage. This used to be my most hated part, but then my husband (then boyfriend) produced a little miracle for me one birthday. It's called an Accuquilt GO and it is basically like an Edison die cut machine that schools use (if you were a goody two shoes like me you used one in the teachers lounge). I had never heard of it before he got it for me so it was a true miracle. So now I only use the rotary cutter and cutting mat for borders and backing pieces! It is a miraculous machine and if you want to be a quilter it is worthy of asking for as a birthday or holiday gift.
I meticulously took pictures throughout this extended process and now I can't find the cutting ones :( Here are some stock Accuquilt pictures from Amazon. You cut the fabric with scissors down to a more manageable size and then put the pieces on a die with the size square that you need. Then you put a plastic cover over the fabric and run it through a thingy that pushes the die really hard so that the metal inside the foam on the die cuts the fabric (if that makes any sense).

Here are some pictures of a different Double Irish Chain quilt I did pre-Accuquilt to show how you cut with the rotary cutter & mat. You cut off a long row and then cut that row into the size square that you need. Remember you need 1/4" seam allowance on each side so cut the squares 1/2" inch bigger than the finished size you want.


Step 6. Once the squares are cut you need to iron them. It really makes a difference and helps everything lay flat. 99% of the time I break out the iron it's for a quilt :)
Step 7. If you are doing a pattern you start assembling your squares ready to sew. If you're patchworking it just make piles of the various fabrics you're using so they are ready for a random grab as you sew. A Double Irish Chain has two types of blocks that are alternated and sewn together to make the quilt top. All these little squares will turn into six flowered squares and six light squares.
I like laying mine out in the squares I need and then I pile the rows up in order so it takes up less space (I am THISCLOSE to having a bigger sewing area).

Step 8. Now it's time to break out the sewing machine. Load up your thread and get ready to sew a bunch of straight lines. At this point in the process the thread color doesn't really matter because it won't be seen. Now if you're using really light colored fabric I'd stay away from dark colored thread because it might show through, but other than that it doesn't matter.
Step 9. Go back to your iron now and iron each seam that you sewed. You'll see how the seams lay nice and flat once ironed. Now to help with getting the corners to match up in the next sewing step I have an ironing tip. When you iron, alternate the way you make the seams lay. Then as you sew two rows together in the next step they fit like puzzle pieces and lay flat and usually match up pretty well. It makes more sense in pictures than in words:
 |
| Top is ironed right and bottom is ironed left |
 |
| See how the seams fit together so nicely? |
Step 10. Once they're ironed you now sew the rows together. You'll either be building your blocks or sewing long rows together for a patchwork. I like to stack up my rows in the order they need to be for my blocks. Double Irish Chain has two kinds of blocks:


I have always been really anal about the corners lining up as the rows get sewn together. The more accurate you are with your cutting and seam allowance as you sew the easier this is to accomplish. And the ironing tip from above helps A LOT.
On my first quilt there were several areas that I totally took apart and resewed completely because they were so off from matching up (like an inch off!) because I wasn't accurate when I cut and my seam allowance wasn't that consistent. But on your first quilt keep expectations low. It will look great no matter what!
The AccuQuilt GO has improved my corner accuracy so much!

Step 11. Go to your iron again and iron all the new seams you just sewed. Evidence of the worthiness of all the ironing:
 |
| Left is ironed, right is not ironed |
Step 12. Now it's time to sew those blocks together into rows! Here is where it starts feeling really blanket-y!
Step 13. Go to your iron again and iron all the new seams you just sewed.

Step 14. Now sew those big rows into your quilt top! If you aren't doing a border you're done with this stage!
Step 15. Go to your iron again and iron those last few new long seams.
Step 16. If you are doing a border now the time has come to cut those pieces. For the corners you have three choices: a 45 degree meet (difficult), 90 degrees and you decide if you want to top & bottom or sides to be the longer pieces, or put a little quilt block in the four corners (which is what I did this time).
Step 17. Sew the borders on. And then you guessed it! Iron the seams.

Step 18. Stay tuned for Part 2- Do the Quilting Part on Wednesday!
Wow, you really do a lot of work for those quilts! True treasures.
ReplyDeleteThanks, Aunt Sarah!
Delete