Wednesday, November 19, 2014

How to Make A Quilt - Part 2 - Do the Quilting


It is Quilting Week on Crafty Homestead!  Monday was Part 1 of How to Make A Quilt and today we press on with Part 2.  This is the part where you are actually quilting and not just sewing so it is aptly titled "Do the Quilting."  

Here is where a quilting/walking foot attachment for your sewing machine would be nice. Normally sewing machines have a dainty little foot on them, but a quilting foot is a little heftier.  It helps to feed the thick quilt (now we are working with three layers of fabric) through the machine.  Here's what mine looks like:


Part 1 - Make the Top
Part 2- Do the Quilting
Part 3- Binding and Embroidery

Step 18: Okay so we left off with your quilt top being done, yay!  So as I said that is the top part.  Now we need to add the middle and the back.  

The middle is called quilt batting.  It makes the quilt warm and thick.  I always use a batting called Warm & Natural Cotton Quilt Batting.  It is sold at JoAnn Fabrics by the yard and it is very expensive (I want to say maybe $20 a yard but I can't remember exactly) so I only buy it when I have a 50% off one item coupon.  They come out very frequently so you shouldn't have to wait too long.  They have a pure white color that is more expensive, but unless you're working with white fabric the creamy colored one is fine.  A normal bolt of fabric is somewhere around 32" wide, but Warm & Natural batting is crazy wide, like 90" wide.  So wide that the width of it has always been enough to be the length of my quilt!  So if you are making a quilt that is a yard and half wide you buy a yard and a half of the batting, etc.

Once you are home with your batting you need to lay it out on the floor and lay your quilt top on top of it.  Cut (with fabric scissors [fabric scissors are very sharp & using them on paper dulls them], not the rotary cutter unless you are more anal than me) around your quilt top and leave about 2" (I didn't leave enough so don't cut this close) of extra batting around your quilt top.  As you quilt things will shift and the extra gives you some breathing room when it comes time to bind.


My edges are never straight. Sigh.

Step 19:  Now lay your batting and quilt top (they should cling together as you pick them up) on top of your backing piece.  

When you are at the fabric store for your batting get your backing piece as well.  I always use cotton flannel for my backings because it is so soft and warm.  They have cute patterns and nice solids to choose from (at least at Joann Fabrics they do).  Your graph paper scale drawing will help you figure out how many yards you need for your backing piece.  

If you're making a baby quilt or lap quilt (3'ish x 4'ish) you can get regular fabric and have the backing be one piece.  If you're making a bigger quilt you can sew two pieces together or make a piecemeal backing like I am doing with my current quilt:


Cut the backing piece even with your batting piece (again the 2" of extra fabric to play with will come in handy when you're done quilting). 

Step 20:  Now that you have your three layers cut and in place you need to pin.  I hate pinning, but for the first few quilting lines you NEED to pin.  

But before you pin you have to decide what kind of quilting lines you want.  For your first quilt I recommend quilting "in the ditch" when means you quilt in the little "ditches" created in between squares.  On this Double Irish Chain quilt I quilted diagonally.  But here's three other quilts I quilted in the "ditch:"

These are the other 3 quilts I made for my nephews and niece. The quilt in this tutorial is for their little sister.  The blue one in the back is the first quilt I ever made and will always be my favorite

So you don't really see the quilting lines from the front, but you do from the back especially if you pick a contrasting thread color.  

Once you know what lines you'll be quilting you need to pin the three layers together alongside the first line you'll be sewing.  You start in the middle and work your way out to the edges.  When it's all pinned you roll up the right side of the quilt so that it fits through the "neck" of your sewing machine. Like so:


Step 21: Thread your machine with the color thread that you want to show and switch to your quilting foot.  Then you QUILT!  Go slowly and help feed the fabric through and do your best to stay straight.  Here is what quilting lines look like from the back:


Step 22When you finish the first quilting line pull the quilt out from the machine and spread it out on the floor again.  It is easily for wrinkles to develop in the backing fabric and once you quilt over a wrinkle they're hard to fix and they'll bug you forever.  

So when it is laid out on the floor flip it over and smooth the backing out.  Then pin your next line and roll up the right side of the quilt.  And quilt again!  For now you are doing all parallel lines.  You can do every square if you want or every other square.  It depends how big your squares are and how quickly you want to be done.  But the more quilting you do the better the quilt looks.  It is just true.  More work = more beauty.  Ain't it always the way.


Step 23: Keep working your way out until you reach the edge of your quilt squares.  As you get close to the edge you may not want to pin anymore, but still do your best to keep pulling the backing smooth.

Step 24Now you work your way left.  But instead of having a huuuge quilt roll trying to get through your machine's neck, flip it around.  Again when you roll it up try to keep it smooth.  Those wrinkles will drive you nuts.  When you reach the other edge you're half done!


Step 25: Now you will start crossing all your quilting lines and make nice squares on your backing like this:


Step 26: If you have a border I like to quilt along the edge of it:

Step 27: If you have a border it's fun to do some "pretty" quilting since it'll be seen from the front.  I did this pattern on my first quilt and it's my favorite.  It's pretty easy and looks impressive.  The only flaw is it'll hurt your wrists.  

You can get a fabric pencil, but I lost mine years ago and just use a regular pencil.  I have a template for this pattern that I got at JoAnn for cheap.  You have to do some figuring out with the corners because it doesn't always work out nicely with the template and you'll have to freehand a bit.

Draw out what you want so that you can follow it.  This pattern is just repeating arches, but you do it twice opposite each other and when they meet it makes pretty scallops.

Step 28: Sew really slowly because you have to slowly rotate the fabric to follow the lines.  Follow your path as best you can.  Turning the fabric is what hurts your wrists after awhile, but beauty is pain.


When you get to the top of an arch put the needle down into the fabric and rotate the quilt so it's lined up with the next stitch needed:

Then keep chugging along.  When you've gone all the way around and are back to where you started backstitch a little.  Also if you have to change the bobbin at any point when you start up again go over your last few stitches before you do new ones to help hold them in place.

See how the one line is sewed and the other is waiting to be sewed:

Step 29:  Now do the same thing again on the other line all the way around.  Then you're done with quilting! 

Step 30:  You can see that when I started I quilted every other square.  But then very late one night just a day or two before giving this quilt as a gift I suddenly thought that on the other 3 nephew/niece quilts that I had quilted every square.  So I went back and quilted all the squares because I am crazy.  But it looks so much better!


 Turns out I didn't quilt every square on the other quilts. Sigh.

Step 31: Now you're ready to bind the edges of the quilt.  Coming Friday!

Monday, November 17, 2014

How to Make A Quilt - Part 1 - Make the Top


This week there are two exciting projects in the works and I am so excited to share them next week.  Meanwhile I am going to show you a project I started back in January and finished in July and have been meaning to blog about since.  Crafty Homestead crafts in various mediums and here is the first fabric project.   

This week will be How to Make A Quilt Week.  It is easier than you probably think it is.  If you have a sewing machine, an iron, and can sew straightish lines you are set.  It's also nice to buy a quilting foot for your sewing machine (for Part 2) and get a cutting mat and rotary cutter for the fabric prep.

I started quilting when I was 17 because my Uncle made his grandson a quilt and I thought I could make one for my nephew, too.  He helped me to get started and since then I have made about 10 quilts and have dreams of millions more (check out my Pinterest board Quilty Quilterson).  I got my sister-in-law into it, too, so now it's even more to have a friend who also quilts.

Let's get to the how-to.  Today we are focusing on Part 1, because while making a quilt isn't hard, it is tedious and takes awhile.

Part 1 - Make the Top
Part 2- Do the Quilting
Part 3- Binding and Embroidery

Step 1. The first thing you need to do is pick a design.  There are lots of books and blogs to show how to do various quilt block designs.  I'd recommend starting with a pattern that is squares all the same size.  Stay far away from triangles!  I tried them in the beginning and was scared off (all the tips of my triangles got cut off when I sewed and I don't understand how to avoid that).  The next quilt I do I will try them again now that I know that blog tutorials exist.  They are too challenging for your first quilt.  You can do patchwork and not think about a design per se or pick a design and then you just have to pay attention as you sew (and prepare yourself for at least one seam ripping session because you put the wrong squares or rows next to each other).  The one I am showing you here is called a Double Irish Chain.  

Step 2. When you  have your design picked it's a good idea to draw it out on graph paper to scale (one square = 2 inches or whatever you need).  This forces you to think through all the details: do you want a border, how thick should the border be, how big should your quilt be for the design to come through, etc.  It comes in handy when you're at the fabric store because you know if you need a half yard or full yard etc.  Fabric gets expensive so not having to overbuy out of cautiousness is nice.


Step 3. Once you have a design you need to buy the fabric.  Take your time with this part.  When I first started I used to rush that part and I ended up with a quilt that I didn't like because the colors didn't go together right in the end.  Lay the bolts of fabric next to each other in the store and think it through so you're really happy with your choice.  If you don't LOVE it laid out on the floor you need to keep working and pull new bolts.  It helps to find one you love the most and find others that work with it because otherwise the possibilities seem endless. It also helps to text pictures to people and gather opinions :)

For my quilt I had tradition to help narrow down my choices.  When I make a Double Irish Chain I like to pick one patterned fabric to "run" through the quilt as the "chain."  I've done stars, circles, animals, and now flowers.  So the flowered fabric pictured below was always what I wanted and I had to decide the two complimentary colors (I usually do a darker color and a lighter color with this design) and the backing.  I loved the animal fabric pictured below, but in the end I had to go with tradition and do a plain cotton flannel backing as I have always done with my Double Irish Chains.  I used the darker color from the front as the backing, but you'll see that in Part 2.
I loved the bold pink, but I didn't think it meshed well with the flowered pink

These two pinks seemed "off" compared to the flowered pink
I pulled in some purple since I loved the pink & purple on the animal fabric.  Now we're getting somewhere!
Here is where I ended up (minus the animal fabric)

Step 4. When you get home you need to wash your fabric in the washing machine and dry it (I only use a teeny bit of detergent).  This way your fabric shrinks before you start working with it and not after (different fabrics can shrink differently which would mess up your quilt the first time you wash it all sewn together).

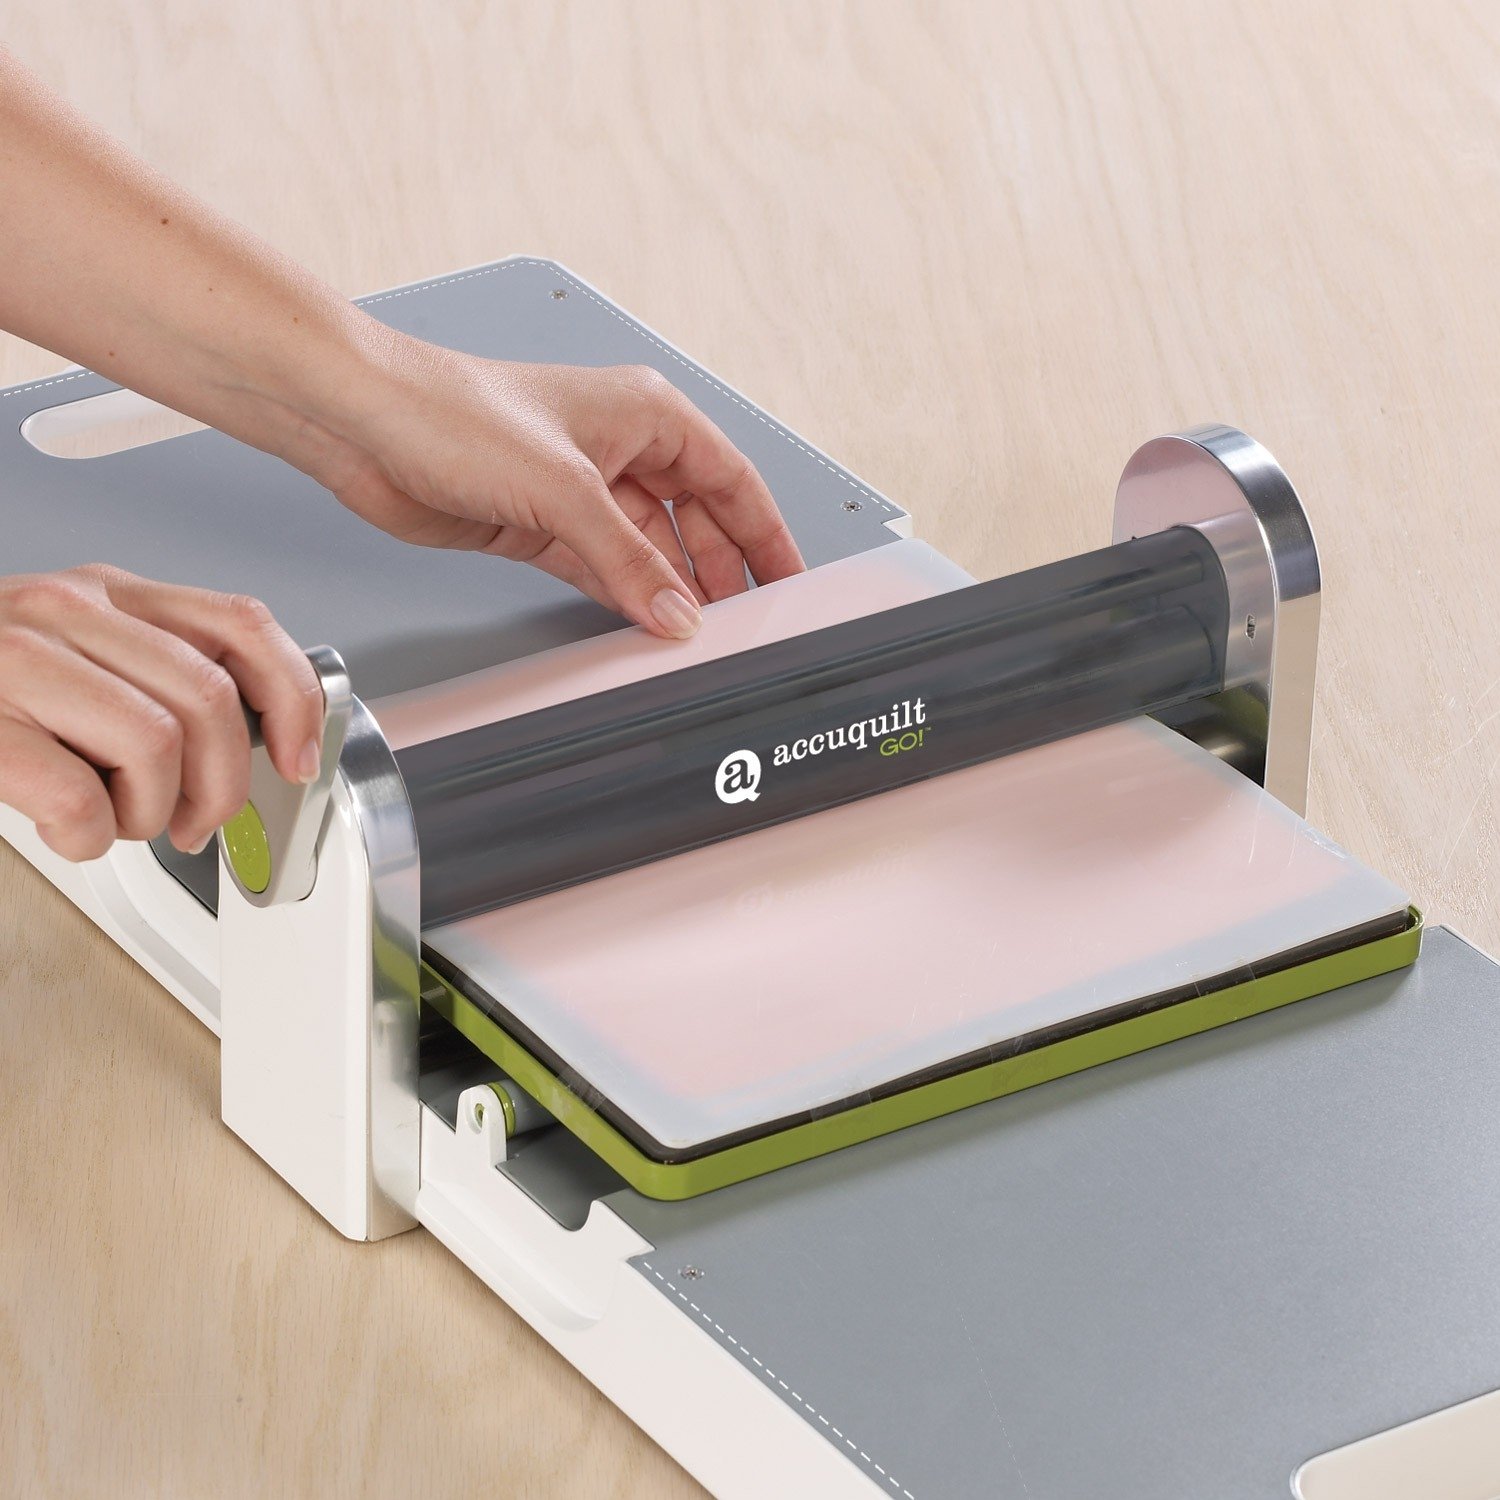
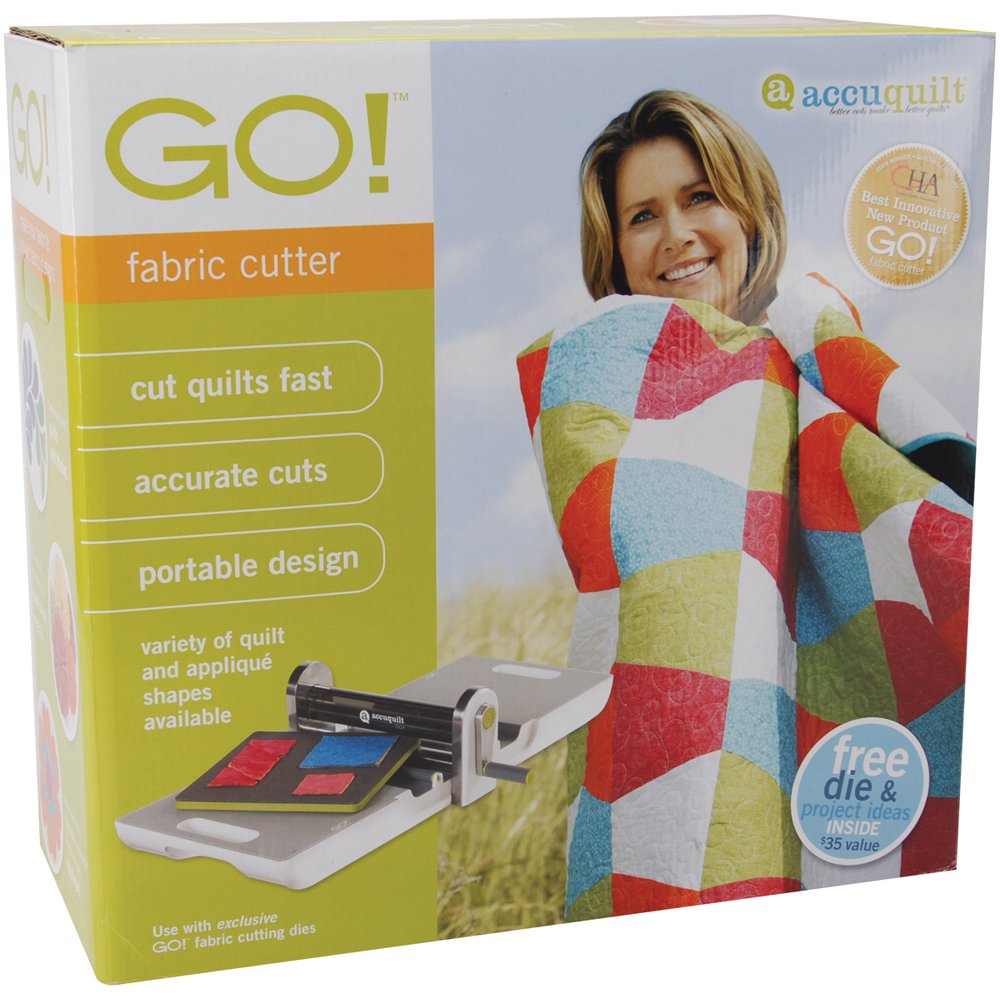
Step 5. Now you are at a stage where you feel like you're actually quilting and not prepping!  It's the cutting stage.  This used to be my most hated part, but then my husband (then boyfriend) produced a little miracle for me one birthday.  It's called an Accuquilt GO and it is basically like an Edison die cut machine that schools use (if you were a goody two shoes like me you used one in the teachers lounge).  I had never heard of it before he got it for me so it was a true miracle.  So now I only use the rotary cutter and cutting mat for borders and backing pieces!  It is a miraculous machine and if you want to be a quilter it is worthy of asking for as a birthday or holiday gift.  

I meticulously took pictures throughout this extended process and now I can't find the cutting ones :(  Here are some stock Accuquilt pictures from Amazon. You cut the fabric with scissors down to a more manageable size and then put the pieces on a die with the size square that you need.  Then you put a plastic cover over the fabric and run it through a thingy that pushes the die really hard so that the metal inside the foam on the die cuts the fabric (if that makes any sense).

Here are some pictures of a different Double Irish Chain quilt I did pre-Accuquilt to show how you cut with the rotary cutter & mat. You cut off a long row and then cut that row into the size square that you need.  Remember you need 1/4" seam allowance on each side so cut the squares 1/2" inch bigger than the finished size you want.


Step 6. Once the squares are cut you need to iron them.  It really makes a difference and helps everything lay flat.  99% of the time I break out the iron it's for a quilt :)

Step 7.  If you are doing a pattern you start assembling your squares ready to sew.  If you're patchworking it just make piles of the various fabrics you're using so they are ready for a random grab as you sew.  A Double Irish Chain has two types of blocks that are alternated and sewn together to make the quilt top.  All these little squares will turn into six flowered squares and six light squares.

I like laying mine out in the squares I need and then I pile the rows up in order so it takes up less space (I am THISCLOSE to having a bigger sewing area).


Step 8.  Now it's time to break out the sewing machine.  Load up your thread and get ready to sew a bunch of straight lines.  At this point in the process the thread color doesn't really matter because it won't be seen.  Now if you're using really light colored fabric I'd stay away from dark colored thread because it might show through, but other than that it doesn't matter.  

Step 9.  Go back to your iron now and iron each seam that you sewed. You'll see how the seams lay nice and flat once ironed.  Now to help with getting the corners to match up in the next sewing step I have an ironing tip.  When you iron, alternate the way you make the seams lay.  Then as you sew two rows together in the next step they fit like puzzle pieces and lay flat and usually match up pretty well.  It makes more sense in pictures than in words:

Top is ironed right and bottom is ironed left
See how the seams fit together so nicely?

Step 10.  Once they're ironed you now sew the rows together.  You'll either be building your blocks or sewing long rows together for a patchwork.  I like to stack up my rows in the order they need to be for my blocks.  Double Irish Chain has two kinds of blocks:


I have always been really anal about the corners lining up as the rows get sewn together.  The more accurate you are with your cutting and seam allowance as you sew the easier this is to accomplish.  And the ironing tip from above helps A LOT.

On my first quilt there were several areas that I totally took apart and resewed completely because they were so off from matching up (like an inch off!) because I wasn't accurate when I cut and my seam allowance wasn't that consistent.  But on your first quilt keep expectations low.  It will look great no matter what!  

The AccuQuilt GO has improved my corner accuracy so much!


Step 11. Go to your iron again and iron all the new seams you just sewed.  Evidence of the worthiness of all the ironing:


Left is ironed, right is not ironed

Step 12. Now it's time to sew those blocks together into rows!   Here is where it starts feeling really blanket-y!

Step 13Go to your iron again and iron all the new seams you just sewed.


Step 14.  Now sew those big rows into your quilt top!  If you aren't doing a border you're done with this stage!

Step 15. Go to your iron again and iron those last few new long seams.

Step 16. If you are doing a border now the time has come to cut those pieces.  For the corners you have three choices: a 45 degree meet (difficult), 90 degrees and you decide if you want to top & bottom or sides to be the longer pieces, or put a little quilt block in the four corners (which is what I did this time).

Step 17.  Sew the borders on. And then you guessed it!  Iron the seams.


Step 18. Stay tuned for Part 2- Do the Quilting Part on Wednesday!

Monday, November 10, 2014

Mirror Redo

Step One of creating an entryway in the living room is done!  The mirror that has been in my parents' basement for as long as I can remember now has a home.  I even got Corey to hang it up for this post!

I had to give it some TLC first.  A little piece came off as I was wiping the mirror down:


So I got some wood glue and glued it back in:

And the bottom right corner had more of a gap than I liked:

 So I filled it with some wood glue before I painted:

You can see in those close ups above that the mirror frame was in rough shape.  I sanded the frame a bit to rough it up to take the paint better and to help smooth out some of the chips.  In the following pictures you can see the process I went through:

Before
Sanded
Primed
Adding test colors (all test pots from painting the main floor)
Went with Benjamin Moore's Ocean Breeze which is the accent wall in the dining room
Second Coat
Final Coat
Here is the detail at the top going through the stages:


 Here is the gap that I filled with wood glue:

And here is the piece I glued back in:

Here it is hung!


I had been thinking I'd hang it to the right of the door, but Corey suggested over here and I wanted to try it out.  It's not to hard to rehang if we do want to put a bookshelf there in a couple years.


Here is the Ocean Breeze accent wall in the dining room:

And here it is on the mirror frame:

It certainly packs more punch in the dining room, but I like the pop of color on the wall and the continuity of paint colors in the house.

Next up is building hooks for coats.  I can't wait to stop hanging stuff on the backs of the dining room chairs!