It is Quilting Week on Crafty Homestead! Monday was Part 1 of How to Make A Quilt, Wednesday was Part 2, and today we finish up with Part 3. This is the part where you are binding up the quilt so they appear to be one layer and when you sign your work.
Part 1 - Make the Top
Part 2- Do the Quilting
Part 3- Binding and Embroidery
Step 31: Okay so we left off with your quilt being quilted, yay! Now we need to bind this baby up. We are in the home stretch.
Binding my first quilt was a nightmare because I used a premade binding that was way too skinny and required too much accuracy (you're sewing through the top and back and the same time and through five layers of fabric). For all the quilts between this one and the first one I used satin blanket binding. Satin blanket binding is a dream to work with because it is so wide (and therefore forgiving), but I noticed with my niece and nephews quilts that they don't hold up as well as fabric binding does. For as nightmarish as my first binding experience was, it held up way better than the satin did.
But now we have this wonderful online crafting blogging world and awhile ago I found a tutorial for fabric binding that didn't look terrible (I found it through the amazing Elise of EnJOY It) and I wanted to try fabric binding again. I didn't take pictures through this process because it's the first time I've done it and I thought I should just link to the very detailed tutorial that I used.
 So now it's time to click over here and follow Amanda Jean's tutorial for binding. You'll notice it's all machine binding and that's because my hand sewing does NOT hold up to any sort of wear and tear.
Here is my binding! I decided to use the flowered fabric because I loved it and wanted more of it in the quilt. Plus I loved the contrast with the dark purple backing. This binding process was straightforward and did not induce any headaches. I like that it's sturdier and you can just use regular fabric for it. I will bind all my quilts with this technique from now on.
Once your quilt is bound you are technically done! It can be safely washed and is ready to go. But I think it's nice to sign your work. Just put your initials and the year in the bottom corner or something. If it's a gift I like to be more extravagant with my embroidery:
 |
| Just noticed I forgot the comma in the date ARGH |
Embroidery is really easy. My mom showed me how for my first quilt. I didn't really know how to take pictures of the process. You use embroidery floss and an embroidery needle. I use all 6 strands of floss because I like the letters to be thick. You only embroider through the backing piece (when you put the needle in you can feel that you're not going all the way through). The way I go from letter to letter is to put the needle under the backing and push it through and pop it up where I am going to start the next letter.
It's called back stitch embroidery and I found a tutorial that will hopefully help you: http://sublimestitching.com/pages/how-to-back-stitch
I figure out the middle letter of my first line and find the middle of the quilt and work out:
At this point I was finishing the embroidery the DAY I was giving it to my niece and it also was the first full day we had Basil. He was limited to just the kitchen back then so I embroidered the last two lines on the kitchen floor that morning with a sleepy buddy:
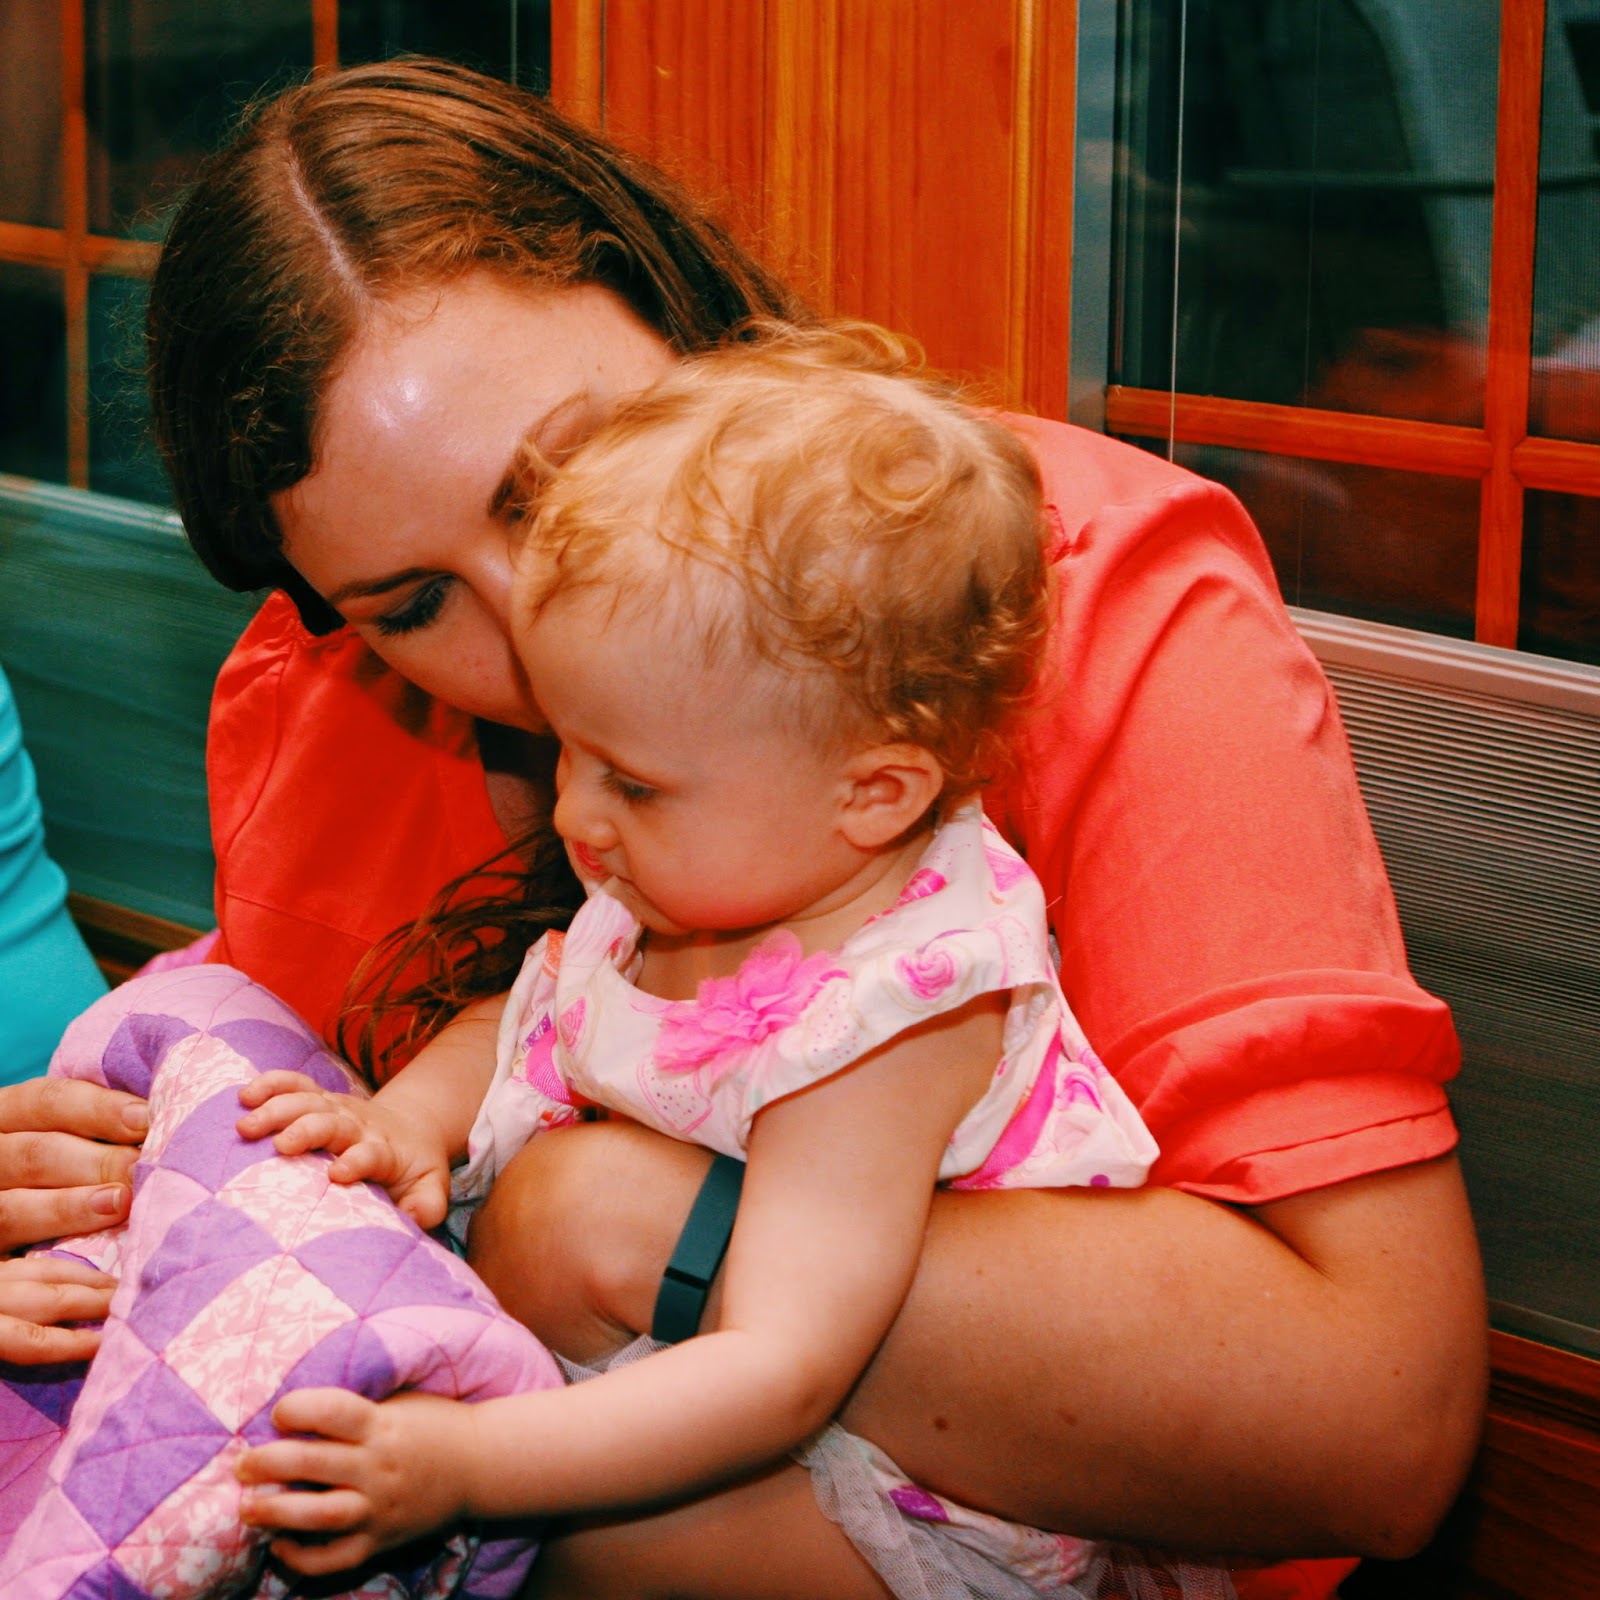
Then I gave it to a sweet baby girl who turned one!
Now to be nostalgic, here are the four first birthday quilt pictures all together for the first time:
Maybe it's because I'm a fourth child, but I am a sucker for tradition and keeping things even.
If you make a quilt from this tutorial I'd love to hear from you! Please comment!
Here's one last piece of encouragement to try quilting. It's a lot of steps and can look overwhelming when put all together like this, but just take it one step at a time. Really it's all just straight lines over and over. AND you don't have to do a design where the corners are supposed to meet. You can do a loosey goosey patchwork design with rectangles and squares like this one from Elise of EnJOY It:
Go quilt, friends!