Showing posts with label how to. Show all posts

Monday, March 30, 2015

The Great Floor Shore-Up Part 1

Puppy comfort is very important...I brought their dog beds downstairs because cement is chilly!


Our house is shaky.  Crazy shaky.  As I said in this post, the floor shook so much it made a pile of picture frames fall off the dining room table as I walked by.

The reason for this is that our floor joists need help.  Our basement is unfinished so we can see all the damage.  Many of the joists have been cut, are unsupported, or were fixed badly.

Here are several joists are cut and pieced together:


This joist is completely cut and there was just a little wood patch over it:


This is where the original gravity furnace was and they patched up the hole without having board go all the way across the span:


So the process that we started recently is reinforcing every single joist.  I ordered 26 fourteen foot long boards and had them delivered.

On the first day we got 6 of them up, but we have figured out a way to get them up faster next time.  Hopefully it will only take 2 more Saturdays to finish.  Part 2 is taking place this Saturday so we'll see.

Though the next 6 that we need to do are all tricky because some electric & plumbing needs to be moved and there's a weird situation where the old furnace used to be.  So we might only get 6 more done because those will take more time to do.

Before we can fix these ones we have to move the plumbing and electrical out of the way:


And we have to fix this part carefully because the hardwood floors are nailed into them so we can't just bash out short boards and put in long ones.  (Even though this was patched we cut a hole in the carpet upstairs and put a camera in the hole and it looks like hardwood and not plywood so PHEW!)


So here's how you reinforce floor joists.

Step One: Make the board is the right size and make some cuts if necessary.  Knock out the old blocking between the joists so they're out of your way.  And brush off the old joist and the new one so there's no dust/spiders/sawdust in between the glue bond.

Step Two:  You need a temporary short girder to shore-up the floor and take out some of the sag of the floor.  We used 2 floor jack posts and used the girder from when my brother did this same project.  You get it set up and then turn the jack part of the post up to raise up the floor joists.  If you have two girders and 4 posts you can get more done in a day because the posts need to stay up for 24 hours.


Step Three: Then put construction adhesive on the board.  Don't make complete circles, because then you trap air in between the boards.


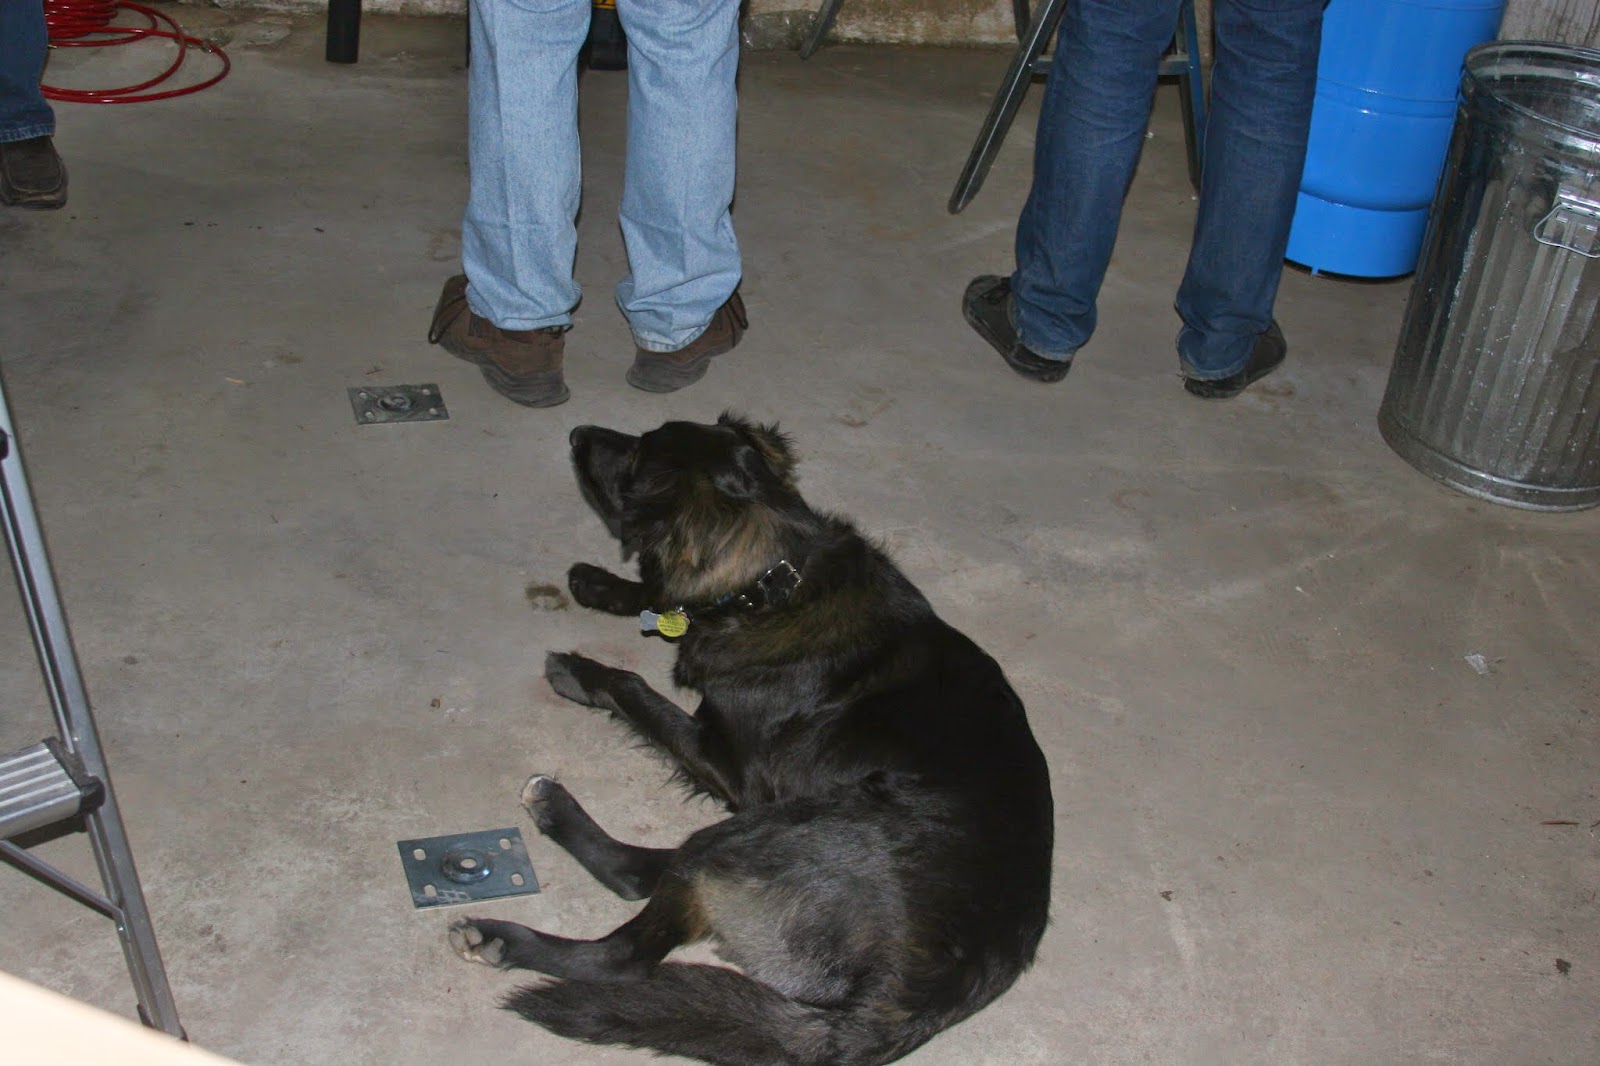
It's important to have a puppy who lays right in the middle of everything:

Step Four:  Put the board up and start clamping!  Make sure when you put the board up you put the crown (the high point) of the board facing up (touching the subfloor). If you're like us the board won't go up because the floor is bowed and your board is a little too tall so you have whack it with a sledgehammer to force it up until you are about to die (this is why we only got 6 up).

You want clamps with a big jaw so you can get the bond tight higher up on the boards:


Step Five:  Then you start screwing and nailing.  Start with coated deck screws and put screws in every foot and half.  In between all the screws you put in nails.  We used an intense framing air-nailer with hot dipped galvanized ring shanked framing nails (they have special glue on them). 


 Brave Allie came down into the basement for the first time!  She was so scared of the scary loud banging, but she felt safer down by us then upstairs listening to the noises alone.


Step Six:  Now you need to put up new blocking between the joists since in the beginning you knocked out the old blocking.  Originally we only had one row of cross-braced blocking in the center of the floor, and we replaced it with two rows of solid blocking both off-center.  Blocking is good because it ties all the joists together to spread out the weight of the floor.
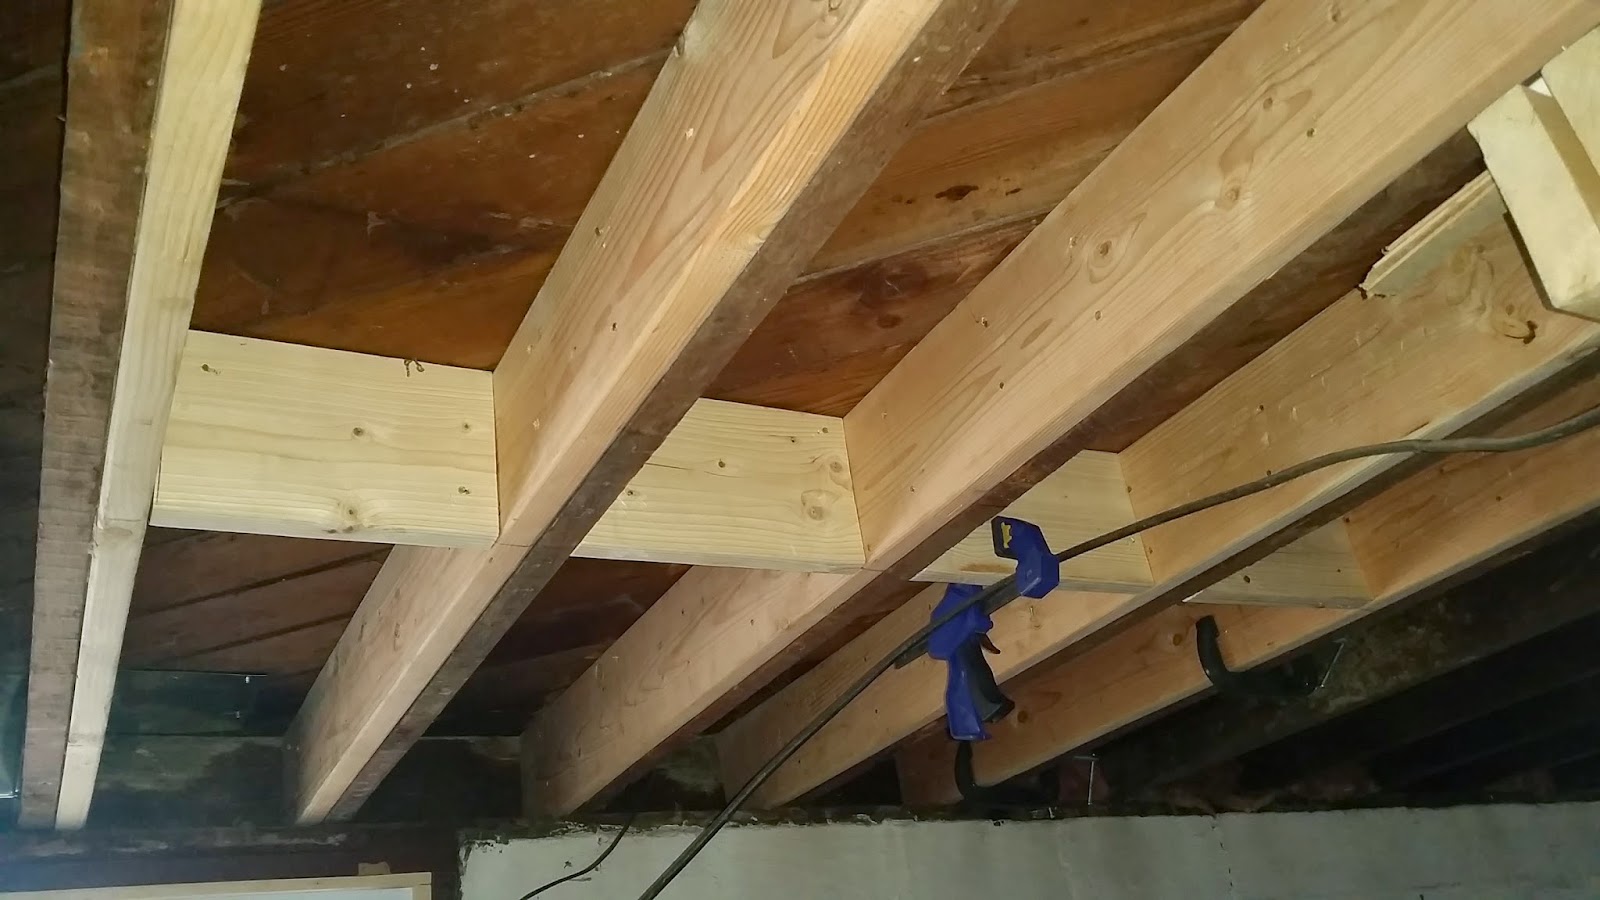

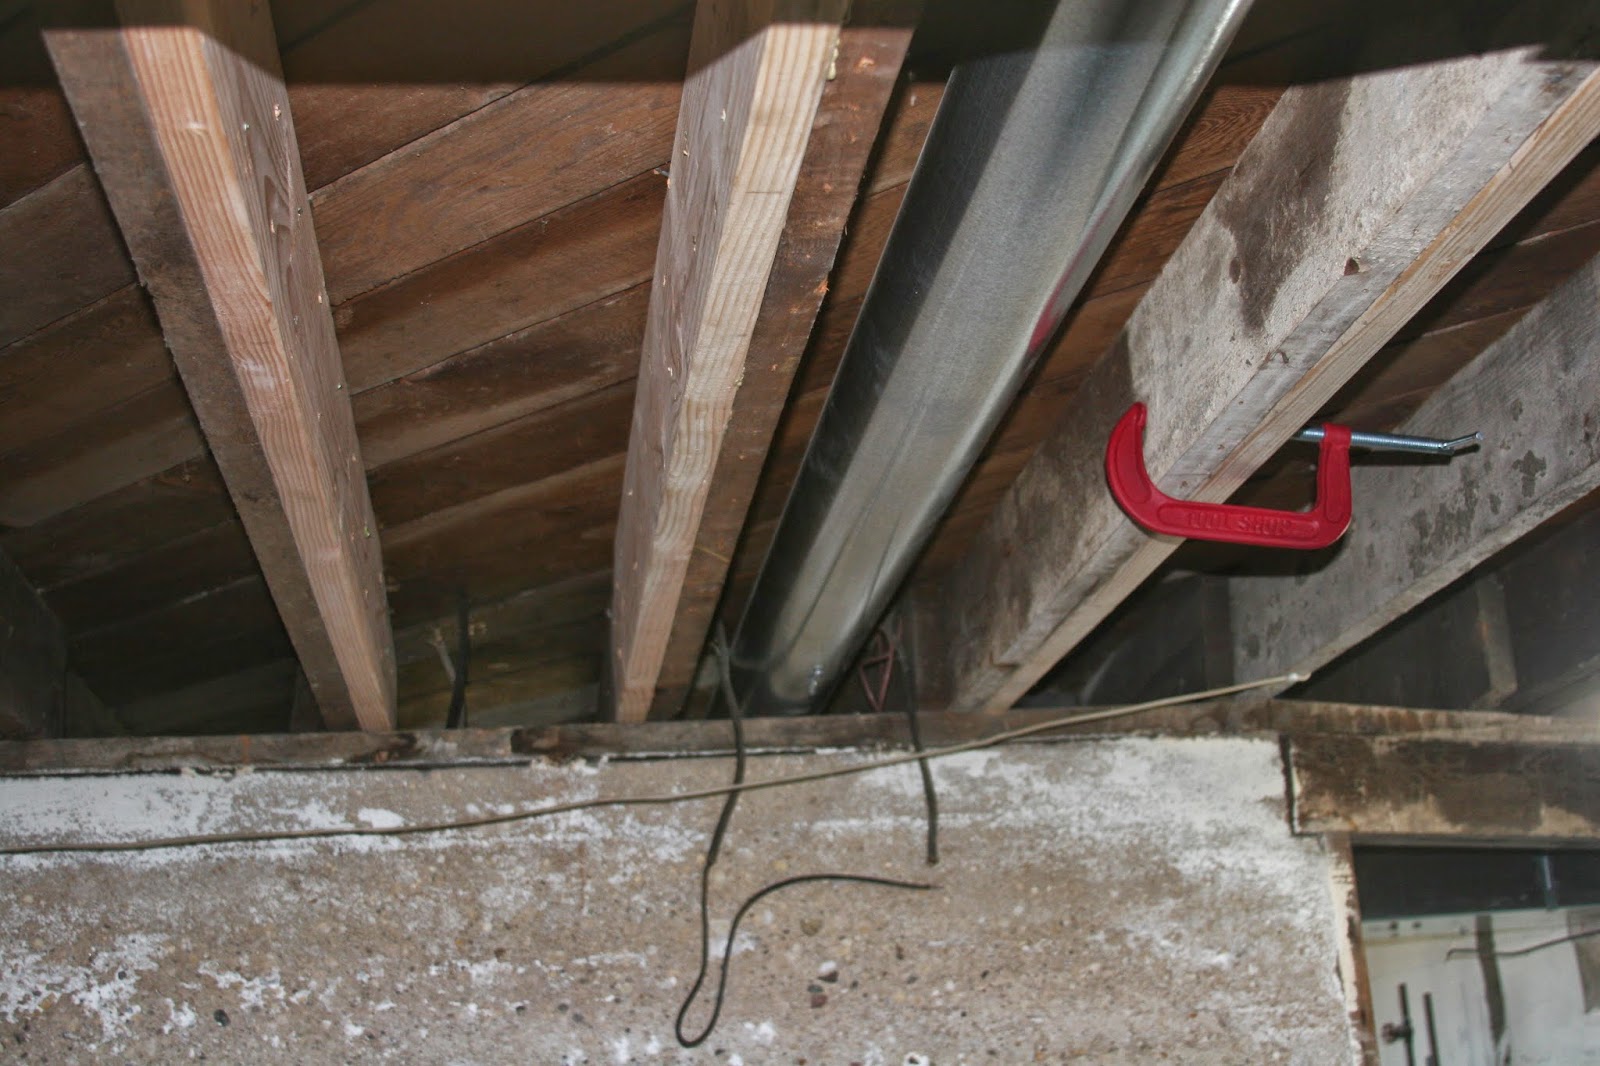
Step Seven:  Enjoy your non-shaky floor!  Leave the floor jack posts up for 24 hours while the construction adhesive sets up and dries.

Friday, February 20, 2015

Easy DIY Bathroom Towel Hooks


Once we made the coat hooks both Corey & I wanted to use the extra scrap to make some hooks for the bathroom.  

Right now we just have one right by the shower and putting two towels on it is annoying.  Plus now we both have robes (which is very luxurious and I don't know why I waited so long to buy a white terrycloth robe.  Best random Ikea impulse purchase!) and there's no where to hang those either.

Since we ended up making the coat rack smaller than I had been planning we had four hooks leftover from that project which is the perfect amount for these bathroom hooks.

This was so easy to do because we didn't want the extra shelf on top.  So here's the step by step:


Step 1: Play around with measurements until you're happy and know how long you want your board to be


Step 2: Cut your board to the right length


Step 3: Route the edges to be fancy


Step 4: Stain or paint your piece

Step 5: If it's going in a bathroom you should put on a coat of polyurethane (omg I spelled that right on the first try!)


Step 6: Get your hooks where you want them and trace the hook and make marks for the screw holes

Step 7: Pre-drill the screw holes one hook at a time

Step 8: Use a screwdriver to carefully put in the screws.  Repeats steps 7 & 8 until all your hooks are in


Step 9: Since we have lathe and plaster walls we need to use toggle bolts (also called molly bolts) to hang things like this on the wall (it's very hard to find studs to screw into with the wood lathe boards in the way).  We used two to hold this up and strategically placed them to be behind the hooks.  We used a countersink bit so that the head of the screw would be flat under the hook plate.  Pre-drill the holes and countersink them.

Step 10: Screw in the toggle bolts. Corey did this alone while I was gone so there aren't any pictures of the process. See this post for more detailed pictures


Step 11: Put the hooks back on and voila the bolts are covered up and the hooks are held to the wall by magic!


Step 12:  Hang that shit uuuuuuup

Next up for the bathroom is making some DIY rustic picture frames for 4 mini-prints I have.  I want to hang then in a row above the towel hooks.


Wednesday, January 7, 2015

Christmas Tree Skirt


I made a Christmas tree skirt!  I have been wanting to make one for the past couple of Christmases.  I used this tutorial.  It wasn't very detailed, but it was a good place to start and I was glad to see I could do a hexagon instead of a circle.

Step 1: Cut all of your strips.  I did 2.5 inches wide by 18 inches long.  You need 36 strips.

Step 2: Sew your strips together into 6 different rectangles and then iron the seams.

Step 3: I got to use the 60 degree cutting line on my cutting mat for the first time!

Cut the rectangle off along the 60 degree line on each side.

Kittens make it a lot harder to get projects done:

Step 4: Trace around the trapezoids from the top to make the middle and backing trappezoids.  Again, cut six.  

I finally got to use my scraps of extra batting!  I've been saving them knowing I'd find a use for them some day.

 And do the same with your backing fabric.

Step 5: Then sew the 6 pieces together into a big hexagon, but leave one side open to get it around the tree.


 Do it with the batting layer and the backing layer.

Step 6: Put the three layers together and pin

Step 7: Then the quilting begins!  I did something new this time.  Instead of quilting in the "ditch" I did two lines on each side of the "ditch."  I did stitch in the "ditch" going down between all of the trapezoids.
Front-
Back-


Step 8: I used satin blanket binding this time instead of the new fabric binding that I've been doing.  This tree skirt isn't going to take much abuse or need to be washed that much, plus I have a lot of extra satin binding that I need to use up.


Because of the angled corners I was left with some extra bubbling.

I pinned it down nicely and sewed my way around the skirt:

Then I went back to each of the corners and sewed down the extra little flap because it stuck up when it wasn't pinned.  I tried my best to connect to the other sewing line so it didn't look out place:


Here it is in place!

I have a lot of fabric left over which I am happy about.  I  bought extra on purpose because I have plans for a Christmas quilt.  I love the idea of a special quilt that only comes out with the decorations.  I think I'll make it as my next project because I'm in a Christmas-y mood and I am want to quilt something new.  Stay tuned!

Friday, December 19, 2014

Fixing Up A Wood Table Without Refinishing It

 The day before Corey's birthday dinner I set aside the whole day for cleaning (well 80% cleaning and 20% food prep).  That shows you how dirty my house was.  When I get on a roll with something I get A LOT done.  One of the random unexpected things I did once I got into Cleaning Mode was fix up my wood dining room table without refinishing it. 

This table was the table my mom used growing up and that I used growing up.  My brother used for awhile, too.  The point is that it's old and it's seen a lot of abuse.  Here is the sorry state of before:

This is the table with all of the leaves in it which is why the one part is so much darker than the others.  It is the least-used leaf.

Materials I Used:
  • razor blade
  • vinegar
  • olive oil
  • Vaseline
  • Formby's lemon oil

What an odd list, huh?  I used some pins I had pinned on Pinterest to plan my attack.

1. First I mixed a 50-50 mixture of vinegar and olive oil because Pinterest told me to.  I wiped it all over the table and it gave everything a nice sheen and cleaned it up a bit.

2. Then I put Vaseline on all the white water damage spots because Pinterest told me to.  There were a LOT of these spots.  I put Vaseline on any sort of discoloration and it worked wonders.

3. Then I slowly scraped off the paper spot with a razor blade.  Then I put Vaseline on it and let it sit for awhile.


I got down to the actual LETTERS from whatever that paper is!  I ever so carefully scraped them off too and it's like the paper was never there!


Then I wiped off the Vaseline in all the areas that it hadn't fully soaked in.  It did wonders on all but the very worst spots!  It must put some moisture back into the wood or something so they don't look so light anymore.


Finally I put on a coat of Formby's lemon oil treatment.


I can't believe how much better it looks!  Those really bad spots probably need to be refinished, but for a little bit of work it looks a million times better.


Here is the table all set the night before the birthday dinner:

And here is a before and after: