Showing posts with label dining room. Show all posts

Monday, April 20, 2015

And the Wall Comes Down...Part 1


Our beautiful basement view of the sunset

As I've mentioned before (here and here), we are using this spring and summer to do some Kitchen Renovation Prep before we (hopefully) start the full demo and rebuild Labor Day Weekend.

The biggest part of this renovation is taking down the wall between the Kitchen and Dining Room.  It is a load-bearing wall, so we need to replace it with a structural support beam up at the ceiling.  But as my Dad pointed out recently, we could take down the lathe and plaster now and just leave the studs up until we are ready to put up the beam.  I am really looking forward to having that wall down so I jumped at that idea!

All of my nephews and one of my nieces (surprisingly the baby doesn't care much) have been very excited about the idea of helping to take down the wall (destruction is the fun part for all ages), especially my littlest nephew who was asking me about it ALL THE TIME.  So I waited until they could come to help and my Mom & Dad could come direct and this past Saturday was the day.


This was really fun and went way faster than I thought it would and was way messier than I thought it would be.  But now when we get into full demo mode this Fall I will have a better idea of what to expect.  All the dust everywhere forever.


We haven't taken all of it down, we left everything up around the bathroom "hallway," part of the top on the kitchen side, and most of the chimney, and I'm not sure when we'll finish that.  Maybe we will soon before we put the beam up or maybe just as part of that project.
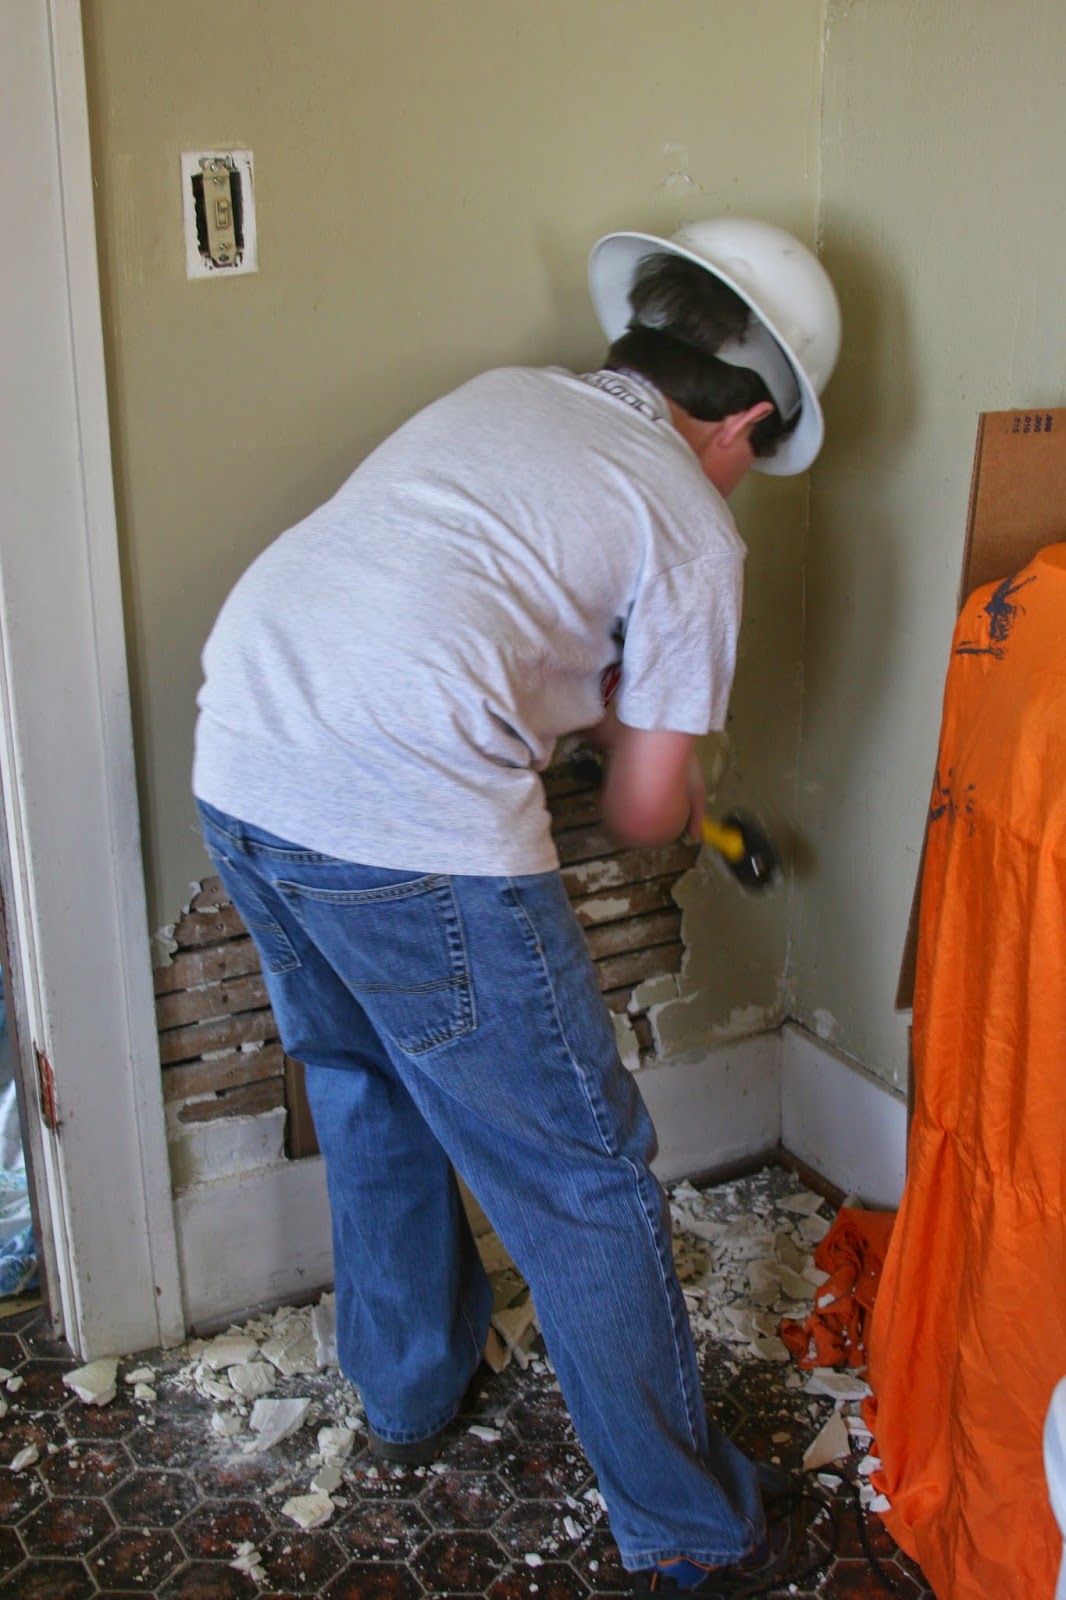


We just whacked at the plaster with various tools to break it into pieces and then pried the pieces off the lathe, and then went back and pried all the lathe off the studs (once the wood trim was down).


#teamwork
My dad has an incredible gift of patience when it comes to doing projects with little kids around.  He always figures out a way to have them involved and feel proud of how they're helping.  He doesn't get frustrated with their questions or how their involvement makes the project take longer.  He just enjoys sharing his knowledge and spending time with the little ones.  My dad is pretty much the best!


At a certain point we had to carefully pry off the nice original wood work.  We are saving it and can hopefully use it when we add a second bathroom to help it look original to the house.  Once we had the trim off getting the lathe off was much easier.


Grandson, Son, Father, Grandson
This is what it looked like when stopped for the day:

SO OPEN!

And here is what it looks like today after Corey & I did some more work on our own:


This is the lathe that we took down.  This is from part of one wall so when we do the full demo....oy vey
The small amount in the box has the nails removed #tedious

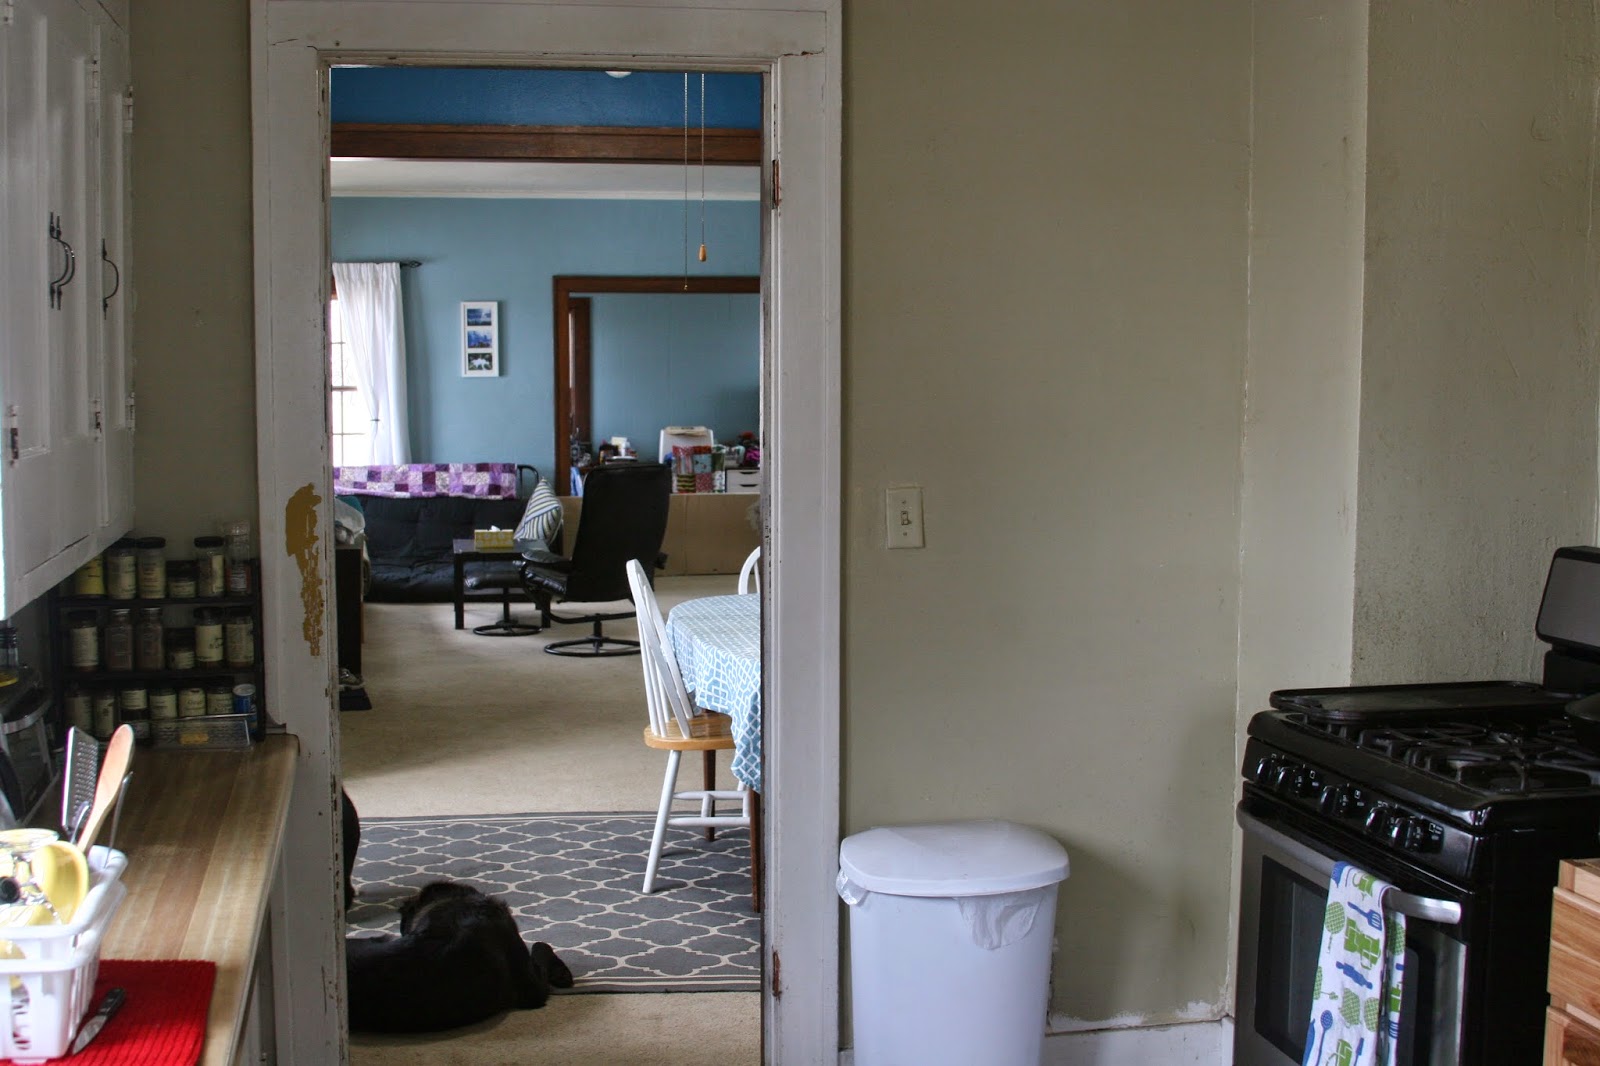
And here is the view from the Kitchen side:


We still have to finish getting the plaster off of the brick and up towards the ceiling (we can't touch the lathe & plaster on the left because we are still using the cabinets).

Here's a quick Before & After for ya:


While the wall was coming down there was also a 2nd unit working on Part 3 of the Great Floor Shore-Up (#multitasking).  Part 2 will be up on the blog Wednesday.

It already feels so much bigger in the kitchen and the stove area gets so much more light.  I can't wait to have to have 100% of this wall down!  I can't wait to have the kitchen redone!  I can't wait to have the wood floors refinished!  I can't wait to have a real couch!  #justkeepswimming

Friday, January 30, 2015

Dreaming & Scheming - The Built-Ins Part 3


My last set of built-in ideas (that's a lie already, I just realized I haven't included the dining room window bench) is in the dining room.  As I mentioned in Wednesday's Dreaming & Scheming post I want to put built-ins on either side of the big doorway between the living and dining rooms.

The dining room built-ins will be to display nice servingware and glassware on the top and for hidden away storage on the bottom cabinets.  I'm thinking our board games will go in those cabinets.  

It would be really nice to have glass doors on the top to display the servingware while keeping dust at bay, but we'll see if that seems within reach when the day comes where this project tops the list.

Here is my trusty Paint picture to set the scene:


I think building the living room bookcase will be a good trial run for these and maybe after building it we'll feel like glass doors are a realistic challenge.

With these built-ins, plus the buffet, plus all our expanded kitchen cabinetry we will have plenty of room for kitchen stuff even in a small house.  I can't wait!

Friday, December 19, 2014

Fixing Up A Wood Table Without Refinishing It

 The day before Corey's birthday dinner I set aside the whole day for cleaning (well 80% cleaning and 20% food prep).  That shows you how dirty my house was.  When I get on a roll with something I get A LOT done.  One of the random unexpected things I did once I got into Cleaning Mode was fix up my wood dining room table without refinishing it. 

This table was the table my mom used growing up and that I used growing up.  My brother used for awhile, too.  The point is that it's old and it's seen a lot of abuse.  Here is the sorry state of before:

This is the table with all of the leaves in it which is why the one part is so much darker than the others.  It is the least-used leaf.

Materials I Used:
  • razor blade
  • vinegar
  • olive oil
  • Vaseline
  • Formby's lemon oil

What an odd list, huh?  I used some pins I had pinned on Pinterest to plan my attack.

1. First I mixed a 50-50 mixture of vinegar and olive oil because Pinterest told me to.  I wiped it all over the table and it gave everything a nice sheen and cleaned it up a bit.

2. Then I put Vaseline on all the white water damage spots because Pinterest told me to.  There were a LOT of these spots.  I put Vaseline on any sort of discoloration and it worked wonders.

3. Then I slowly scraped off the paper spot with a razor blade.  Then I put Vaseline on it and let it sit for awhile.


I got down to the actual LETTERS from whatever that paper is!  I ever so carefully scraped them off too and it's like the paper was never there!


Then I wiped off the Vaseline in all the areas that it hadn't fully soaked in.  It did wonders on all but the very worst spots!  It must put some moisture back into the wood or something so they don't look so light anymore.


Finally I put on a coat of Formby's lemon oil treatment.


I can't believe how much better it looks!  Those really bad spots probably need to be refinished, but for a little bit of work it looks a million times better.


Here is the table all set the night before the birthday dinner:

And here is a before and after: