Wednesday, September 17, 2014

Stripping & Staining the Front Door


I love the doors in this house.  I looked into it and found out that they are mission style doors.  I especially love that the front door matches all the interior doors.  The inside of the door was still unpainted, but unfortunately I couldn't say the same for the outside of the front door.  It was painted a gross chipping salmon color.  Look:


I had been planning for months that in early June once we were living in the house and the weather was nice I would refinish the door.  I figured I'd take it off first thing in the morning and get going so that it'd be ready to hang up before bed.  NOPE!  June got away from me and this project ended up happening four days before the wedding.  And we had a tarp for a door overnight since the door was not dry enough to rehang when we went to bed.  I am so glad that we did not wake to a raccoon in the house or something.


First I started with the heat gun and a scraper.  It worked really well:


I wish I would've stuck with it longer because once I switched to the chemical stripper I couldn't go back to the heat gun.  Though the problem with the heat gun was that I was dumb and ended up cracking two of the three glass panels :(  They are hairline cracks and hard to photograph.  On the bright side now I think I want to replace them with stained glass for privacy and prettiness.  

Here is the chemical stripper on:


And scraped off:


As you can see, the heat gun got more paint off.  I had to sand the rest of that paint off!


I sanded my heart out for hours and hours and hours:


And then I put on wood conditioner which is supposed to help the wood take the stain more evenly. You can see a test of it on the blog Young House Love here


And then it was time for stain. Here it is before I wiped off the excess:


And here it is in place:


The hardest part of the process was the detailed trim pieces.  It was just so hard to get at them without super precise tools.  I am so happy with how much better it looks. There's a couple of places that didn't take the stain that well, but it adds character!  I hope.

I also painted the threshold chocolate brown which helped cover up all the chippy paint. Here's a before:


And after:

I think I am one of the few people in the world who can say they were refinishing a door four days before their wedding.  I have odd priorities.  But I couldn't let it go because I knew all the wedding guests would be coming in the front door and I did NOT want them to see the old salmon door.  I am nothing if not super determined about very specific things.

Monday, September 15, 2014

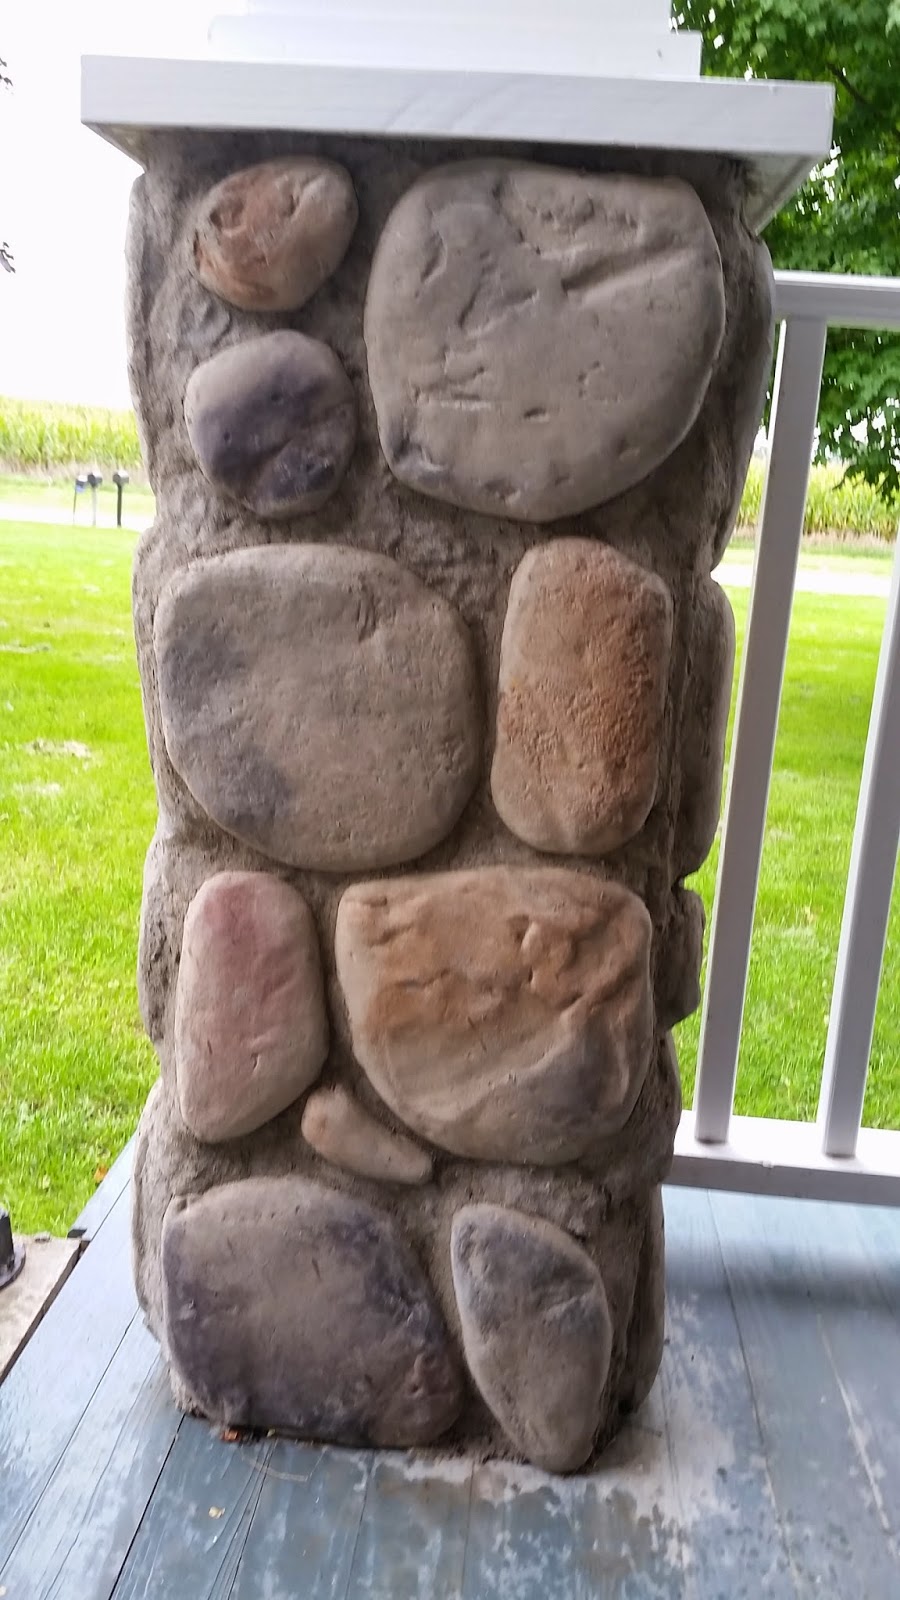
Putting "Stone" on the Porch Columns


I wanted stone columns for the porch, but my dad said that the current foundation was not a masonry foundation and could not support stone.  I did not want to redo the porch foundation so I looked into fake stone options.  We ended up using a fake stone made of concrete that is sold at Menards.

Once we finally got to this point it was very exciting.  There were so many layers on the columns before we could even start thinking about the stone (see this post).  First up we had to do yet another layer, the wire mesh which one of the most terrible things my mom & I have ever done.  It was so sharp and awkward to deal with:


And then we had to do a base layer of mortar.  It had to dry before we could start putting up stones.  Here is the base layer going on:


Once Corey knew it didn't have to be straight lines it got much easier:


And here is how I played with the stone layouts.  I wanted the layouts ready to go so we could work quickly with the mortar.  We still ended up having to change them a bit sometimes, but it was so helpful to have a solid starting point. 


It was really nice to be able to cut off the cardboard and drag the template over to the column and start laying the stone.  Here is the stone layout on cardboard:


And on the column:

Here it is grouted:


Getting the stones to stay up was tricky.  In the beginning the big stones kept falling off!  We had to learn the best technique which ended up being: gob on lots of mortar to the back of the stone, hold it in place with one hand and/or a clamp, and use the other hand to gob on more mortar around the edges of the stone to really hold the stone in place as it dried.

Once the stones were up and dried we had to grout.  We used the same mortar for the grout as well. I must note here that the mortar shreds your fingers.  We wore latex gloves which helped, but we still ended up with finger pads covered in tiny cuts. Ouch.  Corey's brothers helped with the last couple columns of grout and they know what I'm talking about.

And props to Corey for doing the most difficult column side of all time because the railing was 100% in the way of everything.  He ended up grouting it as he put up the stones on because he was already in there and going back for a second round with the grouting tool would've been so so very difficult.


Now these stone columns have been up for months and have survived many a rainstorm.  Here's to hoping they survive a winter, too.  Then I'll definitely be able to back this product.

They really finished off the columns and I'm so happy we were able to achieve this look without having to redo the foundation.

Saturday, September 13, 2014

Welcome Back & 1 Year House Anniversary


I am sorry that it took this long to get back to blogging! I meant to get started again in July and just had a mental block. I was busy in every way for the first 9 months of our house ownership and I think I need a couple months of nothing to recover.  But I have a big list of posts to write and I am excited about blogging again!

Today is the anniversary of our house closing.  One year ago today we signed the papers, drove to our NEW HOUSE, and started cleaning like mad so that we wouldn't feel gross camping out at the house that night.  How far we've come!

I have several porch updates coming (I will be posting every Monday, Wednesday, & Friday starting next week!).  But I wanted to come back with a bang and show a good ol' before & after. Behold the front of our house before:


And after:


The change is astounding. I am so happy every time I pull into my driveway. It feels like a different house . Thank you to our parents and brothers because everyone had a hand in this major renovation project and Corey & I couldn't have done it without them.

Speaking of family, meet Mr. Basilbee, Basil for short, our new furry addition:


He is a rescue, but the shelter guessed he is a border collie/lab mix. He is high energy, still very bite-y, and a big scaredy-dog. He was born in the beginning of May so he is 4 months old. We got him on July 11th, a few days after we got back from our honeymoon.  We have had him for two months and already he has tripled in size:


And almost a week ago we welcomed our two outdoor cats, Mr. High5BanjoStrings, Banjo for short, and Oliver.  Banjo matches Basil:


And Oliver is his stripey brother:


They are both very sweet purring machines who are just starting to get brave enough to leave the garage. We hope they will be good hunters.

As I mentioned I have catch-up posts planned sharing the last of the porch projects & landscaping, but I also will be sharing some crafty projects, recipes, and organization stuff. So now that we're living in the house and pulling back from to go-go-go push of Weekend Updates, the posts will be more focused on one project at a time and the content will jump around.  But all will fall under a "crafty" heading.

I'll be back Monday with a post about putting the stone on the porch columns!

Thursday, June 12, 2014

Wedding Hiatus

I am my mother's daughter!  Probably not the last flower trip like it was supposed to be....


Due to both the busy-ness of last minute wedding planning activities (which goes hand in hand with house projects) and me wanting people to be surprised when they come for the wedding, the blog is now on a Wedding Hiatus.

I'll start posting again in July and catch everyone up on the projects that happened in the 2 weeks leading up to the wedding.

Clue: It involves lots of planting, fake stone laying, porch ceilings, & granola making

Monday, June 2, 2014

Weekend Update #20


This Weekend We:
  • finished the railing!
  • cut the trim pieces for around the top & bottom of the columns
  • put the patch piece against the house on the left side
  • Corey & I varnished the ceiling pieces
  • Corey's mom washed most of our windows!
  • Corey's brother did some power washing
  • Corey's dad mowed our lawn again
  • my mom removed 14 wheelbarrows full of dirt from the mound by the well head & planted a bunch of plants 
  • fixed the upside down handle on a toilet
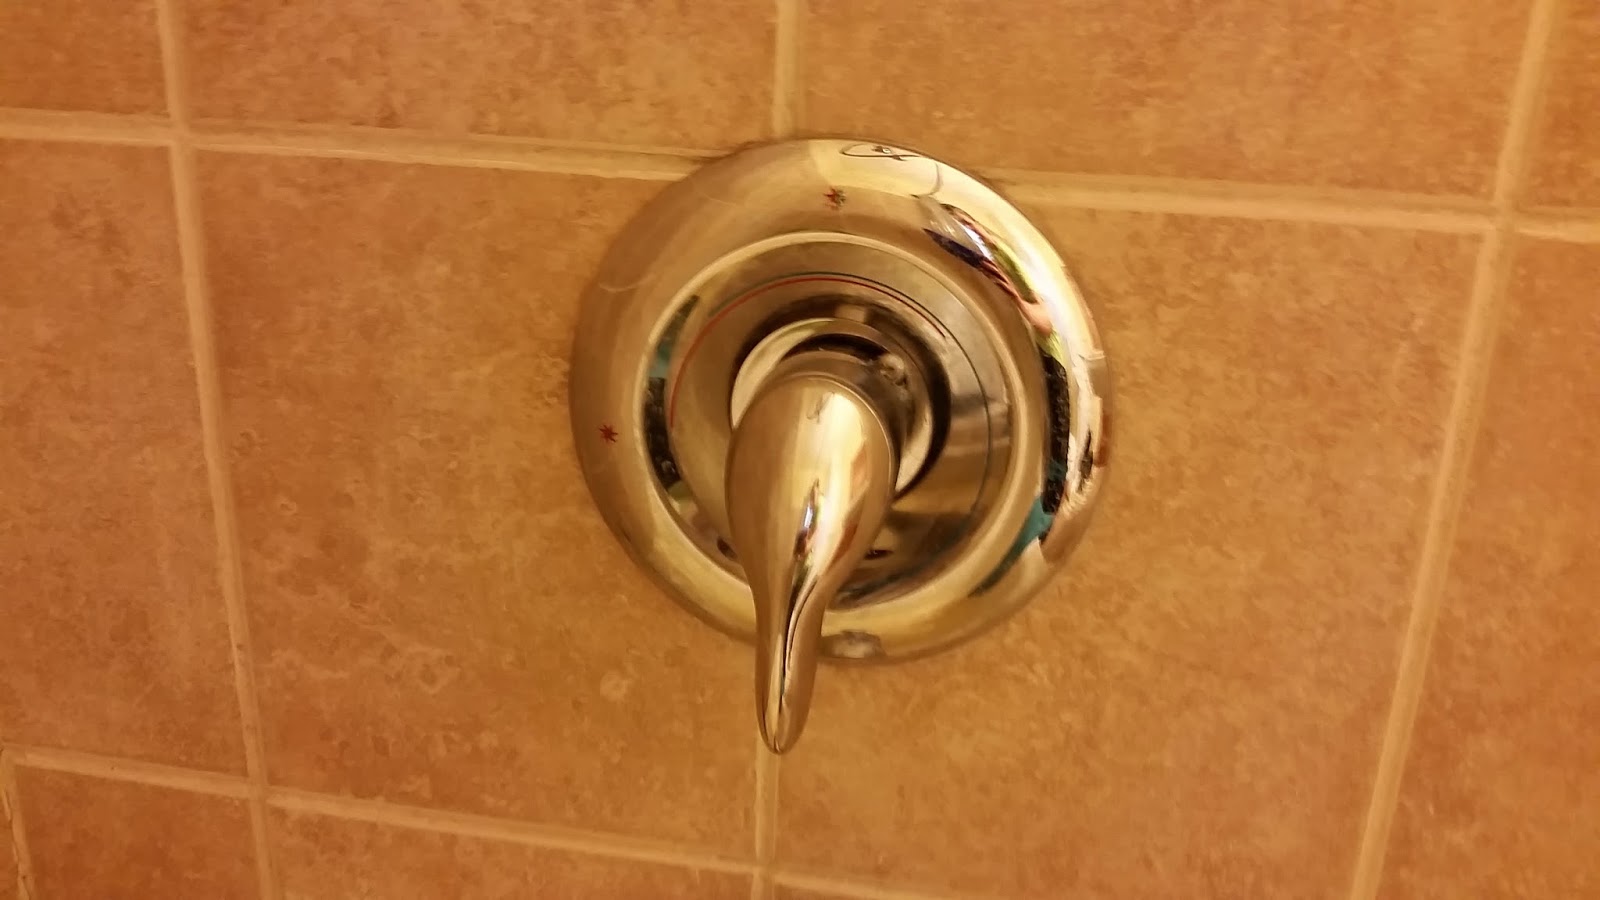
  • fixed the upside down handle on the shower

Behold the last side of the railing in all it's glory:


Here it is from the yard so you can see that the railing makes a little turn into the column.  It does this because we wanted the railing to start from where the old wall did so that it would help cover it up. Also this maximizes usable porch space.


My Dad added an extra piece to the patch piece because the railing top & bottom pieces that we bought were 8 ft and that wasn't quite long enough to reach the corner column.  He also put the skinny piece on top, but I forgot to get a picture of that.


Here the big picture view:


Here's the ceiling pieces in the basement being varnished:


Can you spot Corey's dad mowing in this picture?:


Power washing in progress on our dirty white house:


Well-head?  What well head?  Thanks to my mom and peonies the well head is successfully camouflaged:


I painted the last coat on the railing and here's a before & after of the powers of glossy white paint:


And all the final column trim pieces were cut for the top & bottom for all 3 columns.  They aren't actually in place yet, because the solvent my Dad bought to adhere them (it's a fancy fake wood that never rots) was gelled and unusable  even though it was just bought on Friday.  Sad trombone 


The toilet handle is no longer upside down:


And the shower handle is no longer upside down either.  Thanks, Dad!:


And here is a quick glimpse of the flowers that have been planted thus far.  This is the last you'll see of them here until after the wedding (gotta leave some surprises for those coming!):

Pink hydrangeas

Rose and a sweet potato vine

Some lilies to brighten up the mailboxes (for us and the neighbor)

Next weekend things will happen, but I won't be there so I'll be depending on the pictures of others.