 |
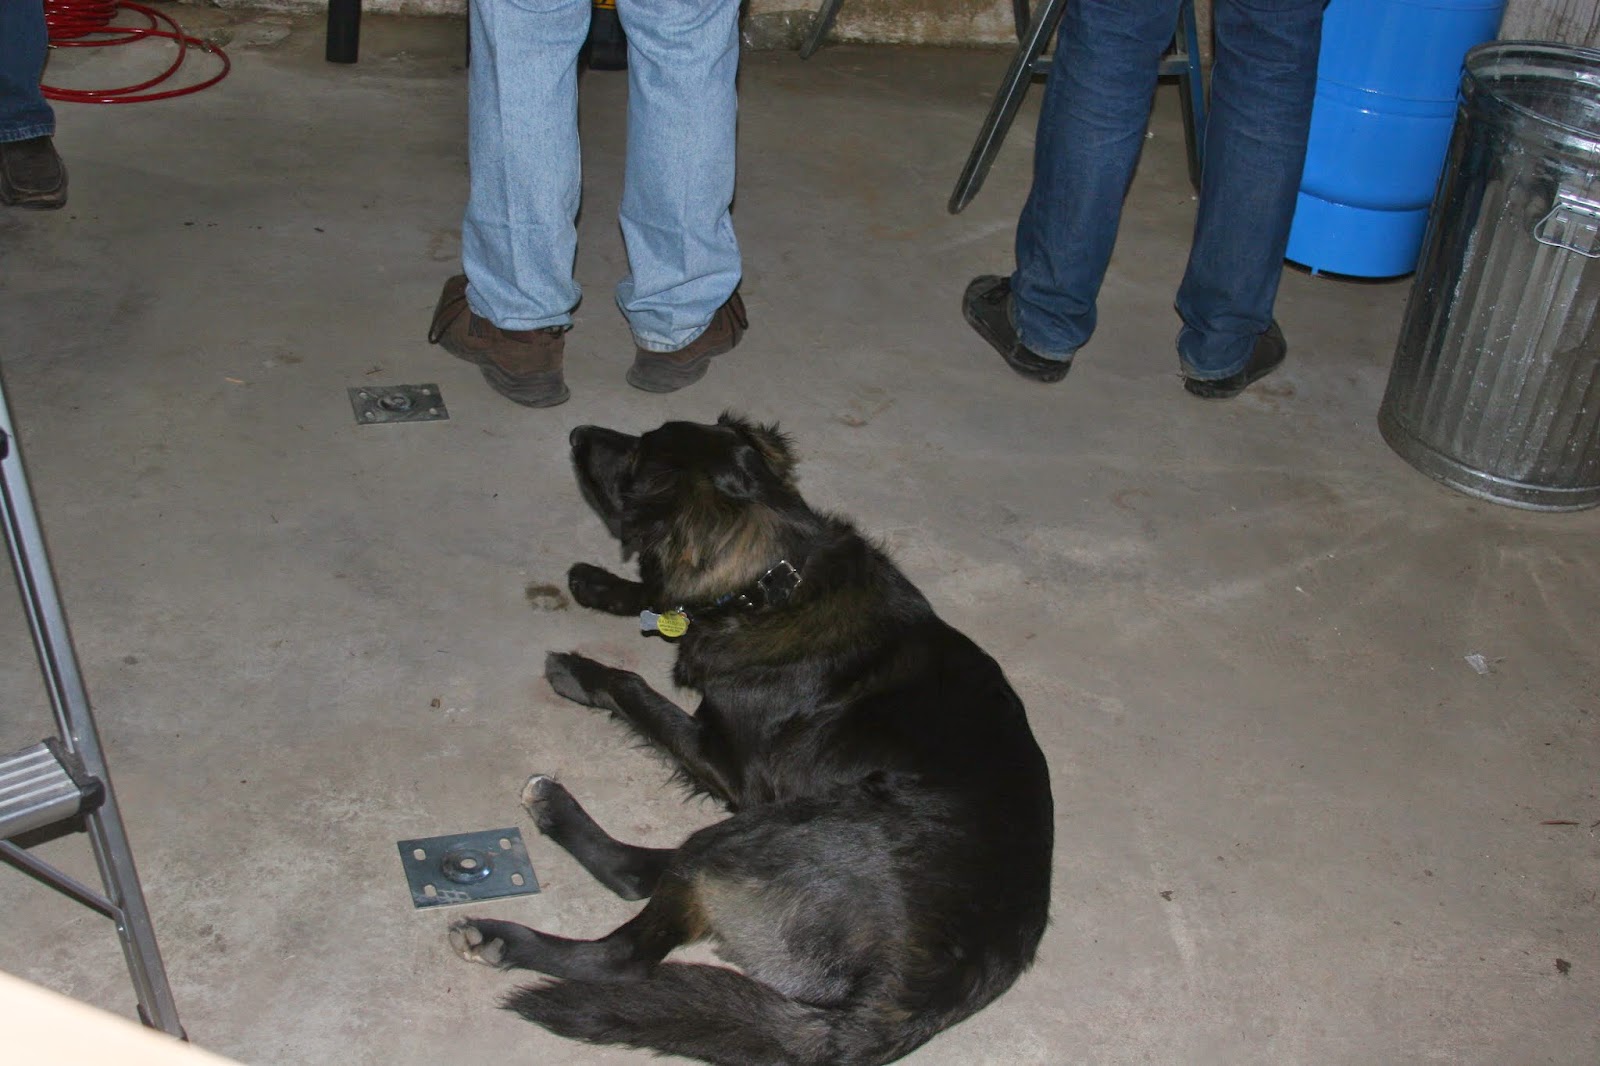
| Puppy comfort is very important...I brought their dog beds downstairs because cement is chilly! |
Our house is shaky. Crazy shaky. As I said in this post, the floor shook so much it made a pile of picture frames fall off the dining room table as I walked by.
The reason for this is that our floor joists need help. Our basement is unfinished so we can see all the damage. Many of the joists have been cut, are unsupported, or were fixed badly.
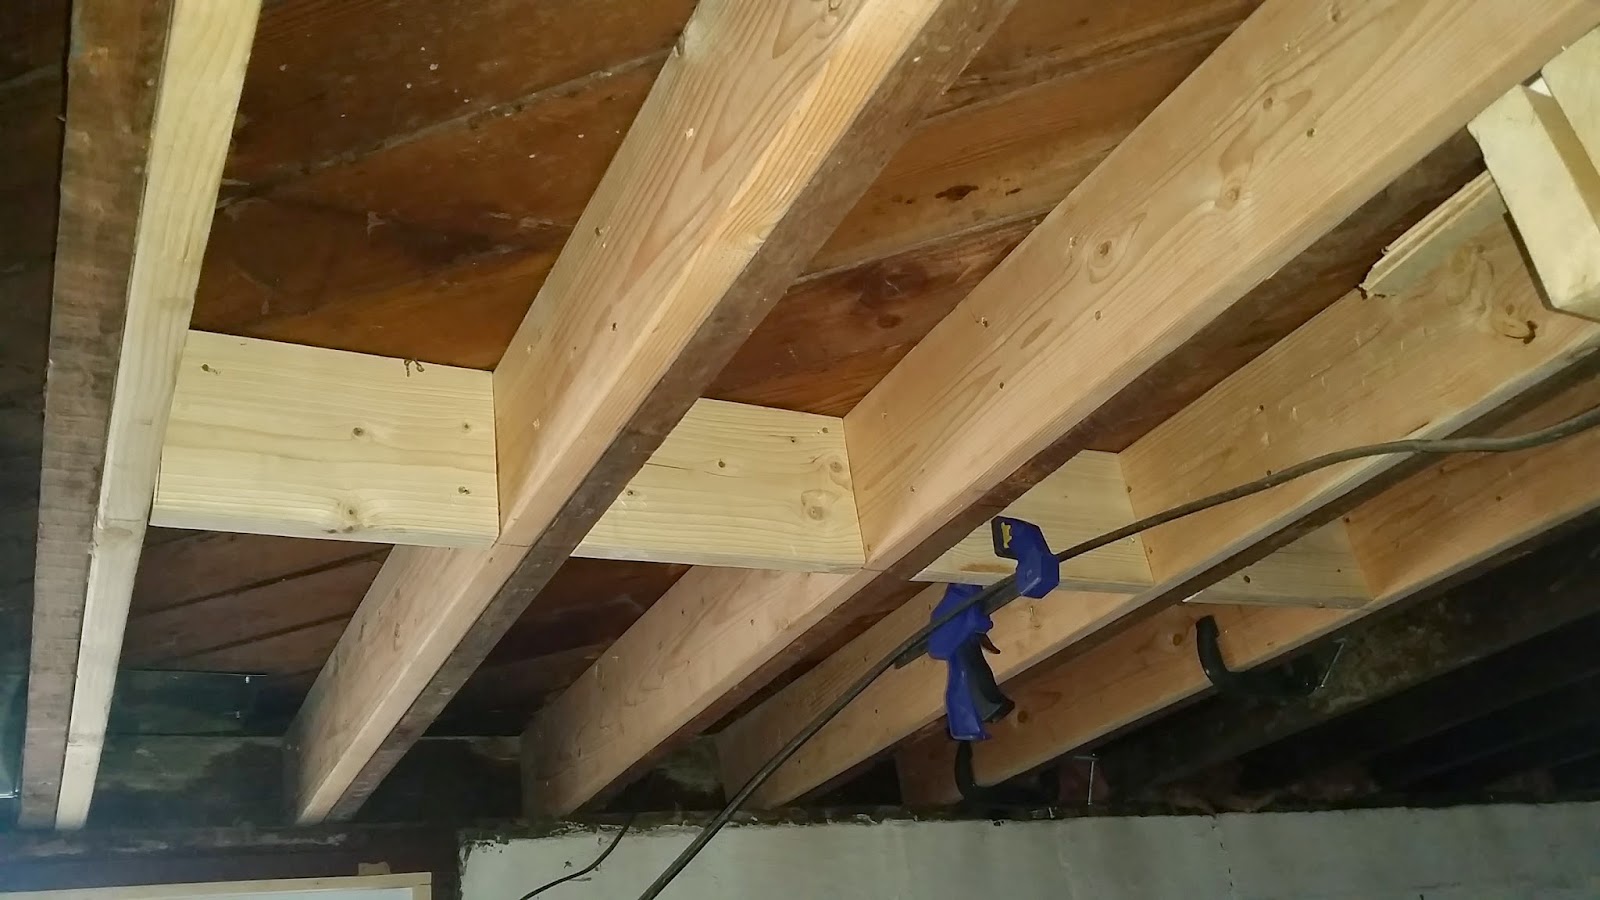
Here are several joists are cut and pieced together:

This joist is completely cut and there was just a little wood patch over it:

This is where the original gravity furnace was and they patched up the hole without having board go all the way across the span:

So the process that we started recently is reinforcing every single joist. I ordered 26 fourteen foot long boards and had them delivered.
On the first day we got 6 of them up, but we have figured out a way to get them up faster next time. Hopefully it will only take 2 more Saturdays to finish. Part 2 is taking place this Saturday so we'll see.
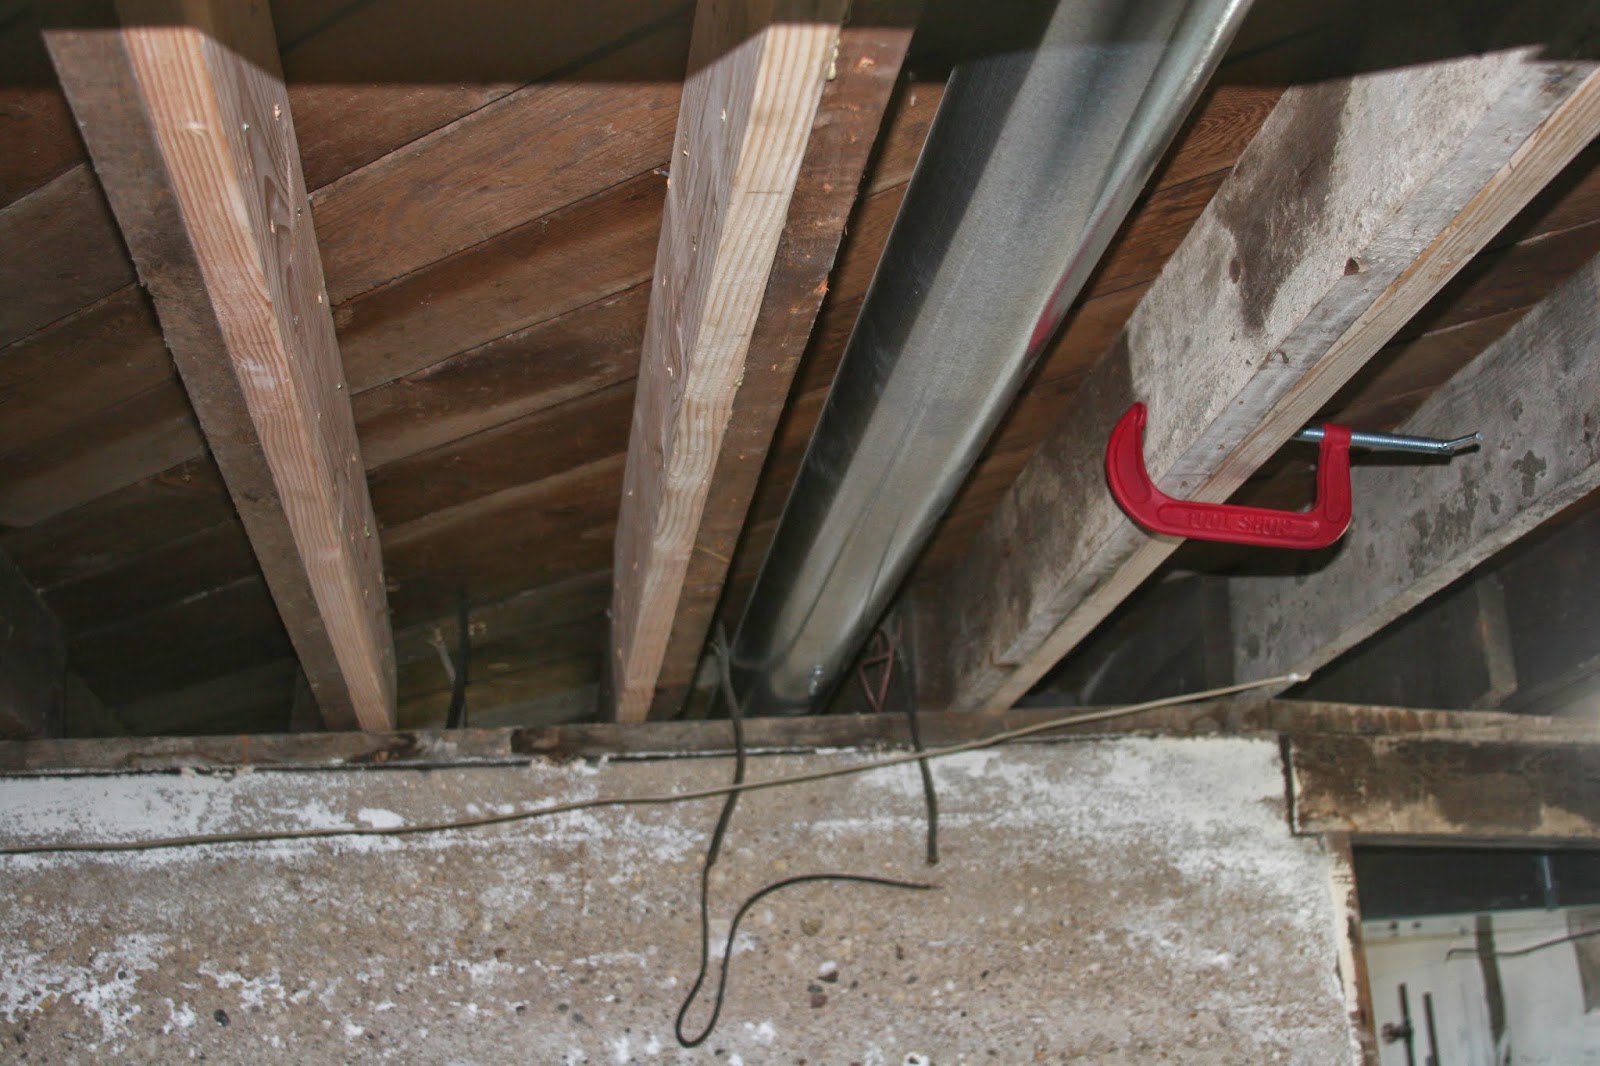
Though the next 6 that we need to do are all tricky because some electric & plumbing needs to be moved and there's a weird situation where the old furnace used to be. So we might only get 6 more done because those will take more time to do.
Before we can fix these ones we have to move the plumbing and electrical out of the way:

And we have to fix this part carefully because the hardwood floors are nailed into them so we can't just bash out short boards and put in long ones. (Even though this was patched we cut a hole in the carpet upstairs and put a camera in the hole and it looks like hardwood and not plywood so PHEW!)
So here's how you reinforce floor joists.
Step One: Make the board is the right size and make some cuts if necessary. Knock out the old blocking between the joists so they're out of your way. And brush off the old joist and the new one so there's no dust/spiders/sawdust in between the glue bond.
Step Two: You need a temporary short girder to shore-up the floor and take out some of the sag of the floor. We used 2 floor jack posts and used the girder from when my brother did this same project. You get it set up and then turn the jack part of the post up to raise up the floor joists. If you have two girders and 4 posts you can get more done in a day because the posts need to stay up for 24 hours.


Step Three: Then put construction adhesive on the board. Don't make complete circles, because then you trap air in between the boards.

It's important to have a puppy who lays right in the middle of everything:
Step Four: Put the board up and start clamping! Make sure when you put the board up you put the crown (the high point) of the board facing up (touching the subfloor). If you're like us the board won't go up because the floor is bowed and your board is a little too tall so you have whack it with a sledgehammer to force it up until you are about to die (this is why we only got 6 up).
You want clamps with a big jaw so you can get the bond tight higher up on the boards:

Step Five: Then you start screwing and nailing. Start with coated deck screws and put screws in every foot and half. In between all the screws you put in nails. We used an intense framing air-nailer with hot dipped galvanized ring shanked framing nails (they have special glue on them).


Step Six: Now you need to put up new blocking between the joists since in the beginning you knocked out the old blocking. Originally we only had one row of cross-braced blocking in the center of the floor, and we replaced it with two rows of solid blocking both off-center. Blocking is good because it ties all the joists together to spread out the weight of the floor.
Step Seven: Enjoy your non-shaky floor! Leave the floor jack posts up for 24 hours while the construction adhesive sets up and dries.
My storage area surface was altered in just one working day from ordinary, oils-stained concrete to completed, epoxy-layered display room issue. I recommend Epoxy Floors Oklahoma City. Their service and focus on fine detail were outstanding, even though their quote was very competitive epoxyfloorsoklahomacity.com!!!
ReplyDelete