
We left off last weekend looking like this:

So this Wednesday we put up the temporary supports and then began taking down the rest of the porch. Here's the temporary supports:


And down came the porch:


Now to take up the old floor and look at the old floor joists:

Bad News Bears: It's all rotted :(


It took about 5 minutes to take it all out because it was disintegrated:


We cantilevered the porch out so that the big columns I envisioned wouldn't hang over the edge:

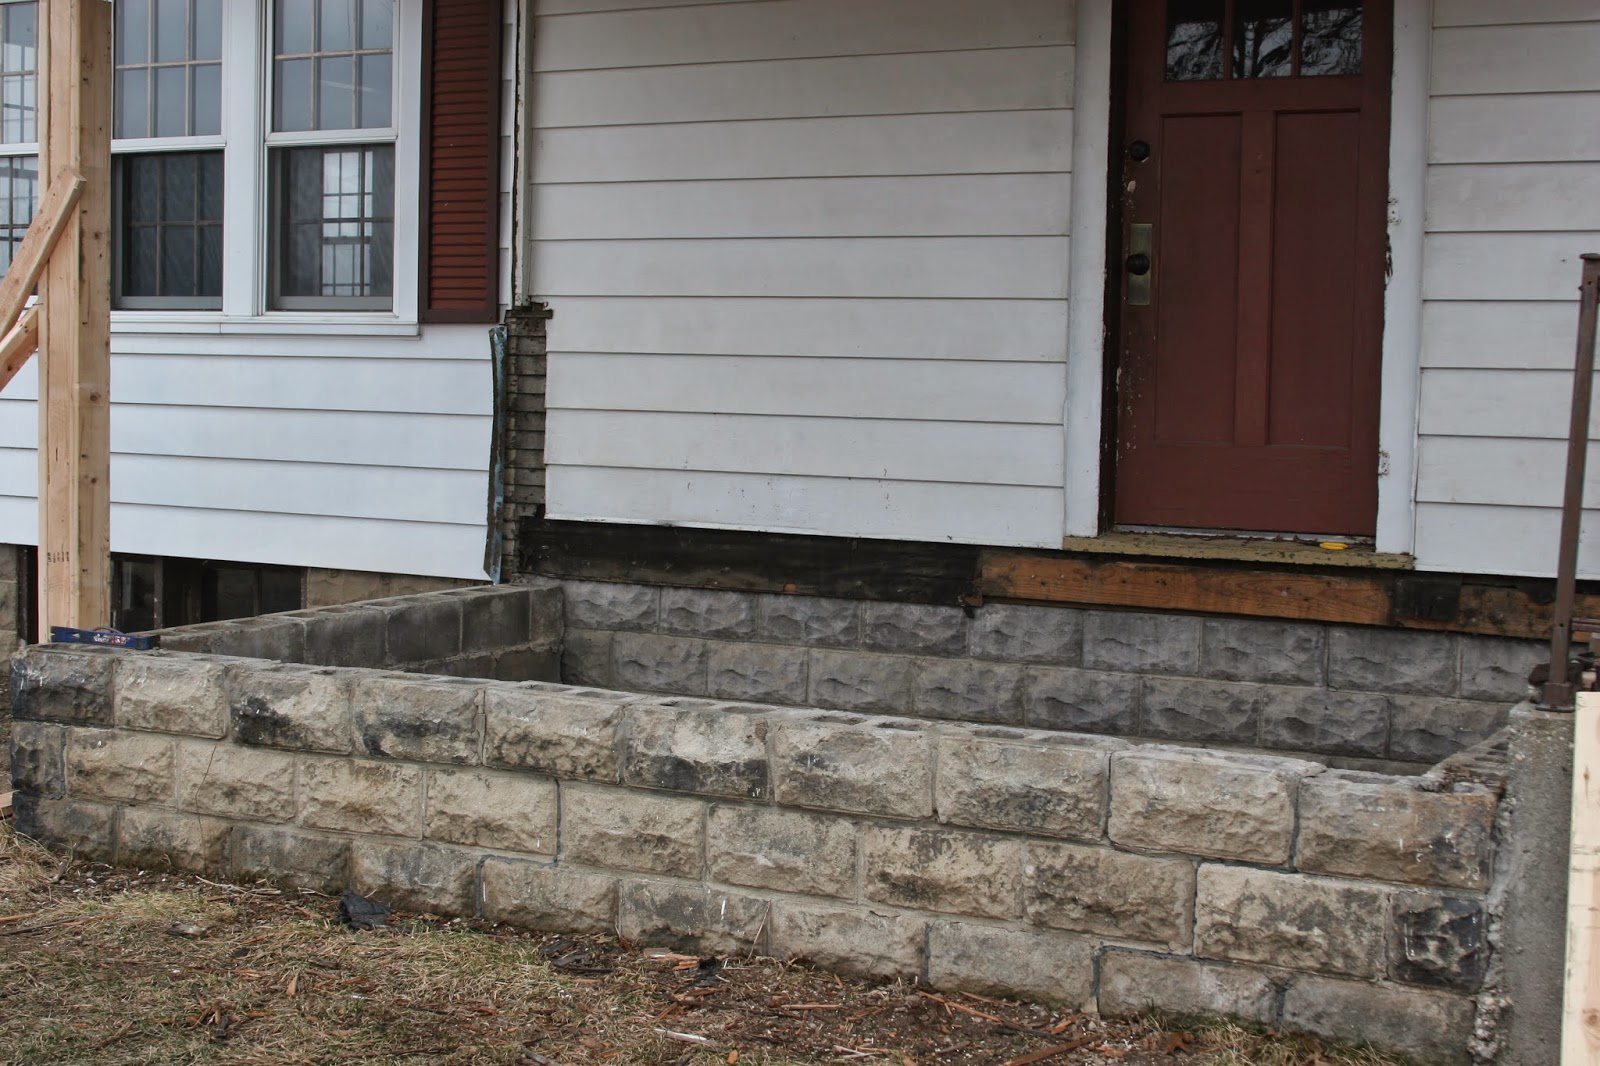
New supports are bolted into the house:


New joists are all in!:


It's a semi-transparent stain. I meant to pick a shade with more gray in it, but blue always calls to me:

First new support post is up!:


This shows the pitch of the joists so that water runs off of the floor. Plus it shows the cantilevered overhang because of the large columns:

Flooring is going in!:

We rented the flooring nailer and it came with this silly looking bopper that you need to use with it:


Stage 3 all wrapped in tar paper:

Here are things that will be addressed in future weekends-
Stage 4 of the columns: putting on the stone
Stage 5 of the columns: putting in the tapered wood craftsman style tops of the columns
New pretty wood needs to go on the side of the joists to cover up the ugly treated lumber and then the extra flooring needs to be cut off:

We need to cover up the remnants from the old half wall and put in the railing:

We need to put in a new threshold:

I need to spray paint the silver threshold in my Oil Rubbed Bronze finish spray paint, paint the door surrounds with the exterior white paint, and strip & stain the door:

I need to thank my dad, my mom, my brother, and my brother's girlfriend for giving up so much of their time to help me with this project. THANK YOU!
Wow, you do have vision! And great timing, that porch might have poked through (that is, step on it, fall through) or collapsed at any time.
ReplyDeleteThe floor boards look amazingly good, given what was under them. Not pitched enough for drainage? So many questions, but you have resolved them all and are making what you envisioned
Vision and a team to back you up to make it happen. Fantastic photos to show each step, and how you did multiple steps at once, like you and your mom finishing the new flooring while other work went on outside. What a cool floor! tongue in groove, properly nailed and lovely color of stain. Gray without a hint of blue is really dismal, so I think your hints of blue are great.
The stone foundation looks better the more you tore down what it once supported.
Well done! Five days well spent. Hope it did not exhaust you, that the work went at a human pace
Thanks, Aunt Sarah! My mom and I also stained the ceiling boards during those 5 days, but I never got a picture :)
ReplyDeleteI am so happy that I decided to conquer this project before we move in, because turns out it truly needed to be done. Phew.